Replacements & Repairs (X1 Stealth Gen 1)
CYC X6 CONTROLLER UPGRADE KIT GUIDE
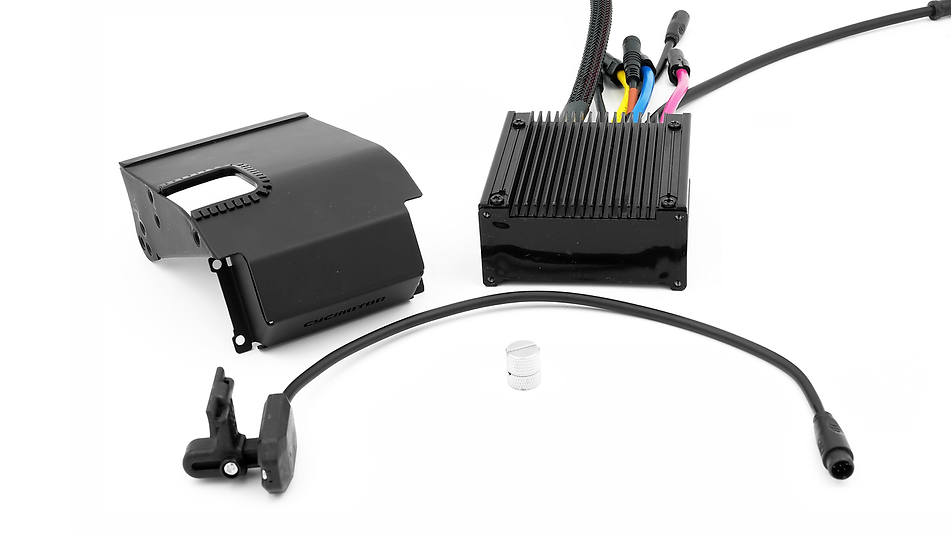
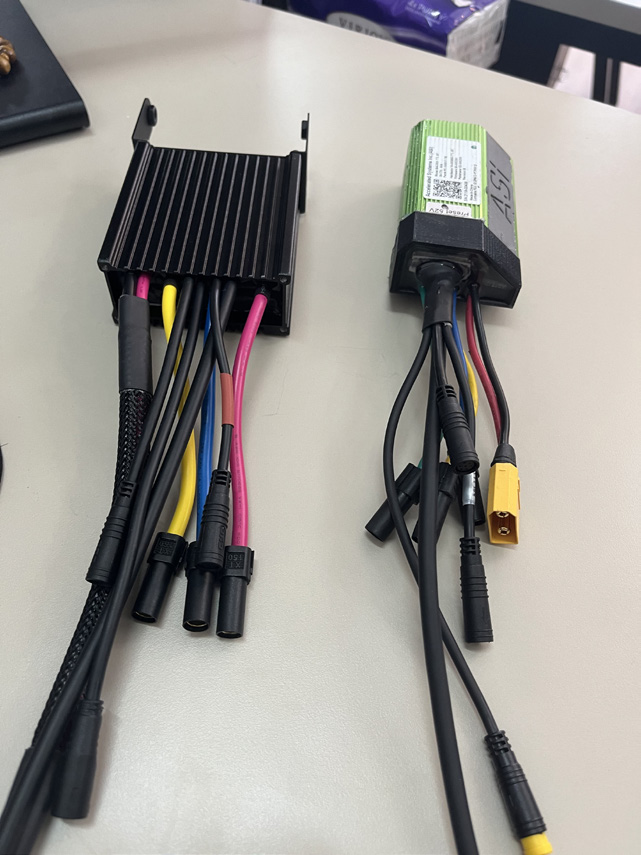
To upgrade from the ASI BAC855 to the CYC X6 Controller, the following components are required for conversion:
- CYC X6 Controller
- Wire Cover Plate
- Bluetooth Speed Sensor & Magnet
- Speed Sensor Magnet
- SW102/DS103 Display (optional)
Please note that the partes and images used in the below guide are for reference only. We strongly encourage you to email technical_support@cycmotor.com if you are uncertain about any of the steps described below.
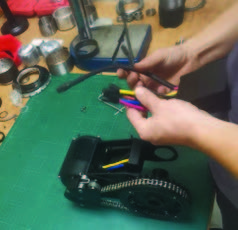
STEP 1:
Unplug the phase wires (yellow, blue, red), torque sensor wire, motor wire & XT90 connector from the BAC855 controller mount.
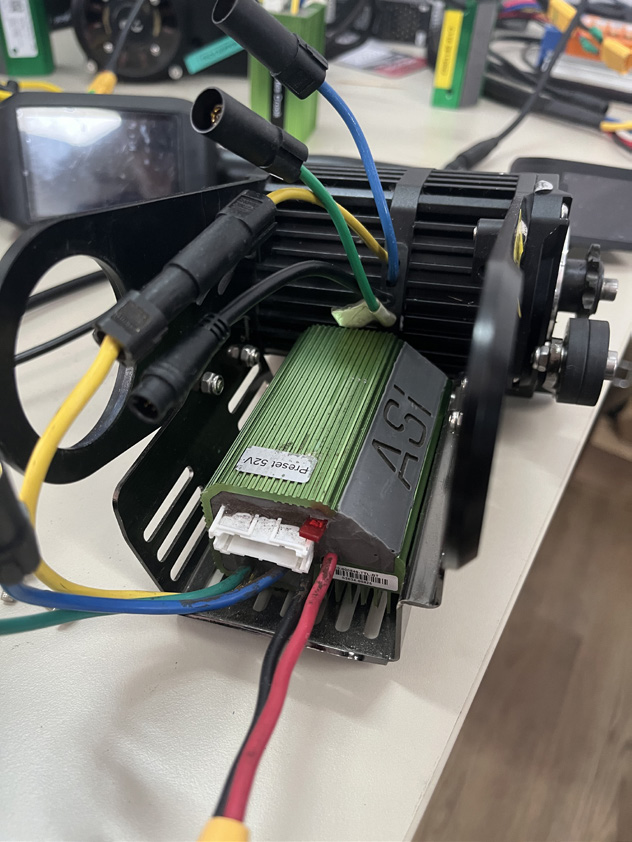
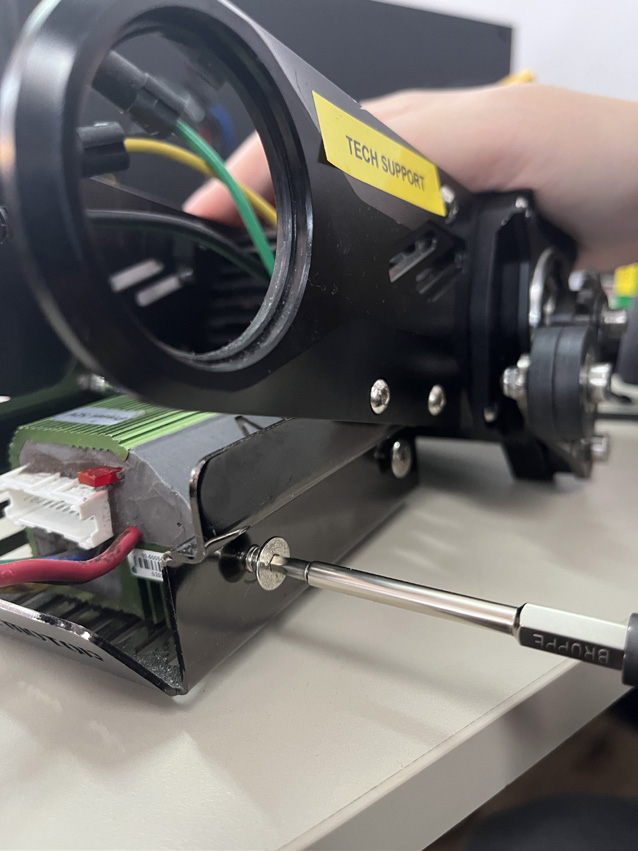
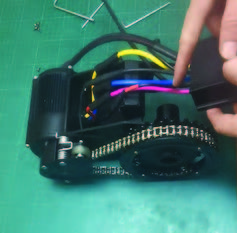
STEP 2:
Unscrew the BAC855 controller mount bolts from sides and remove the controller & controller mount to install the X6 controller.
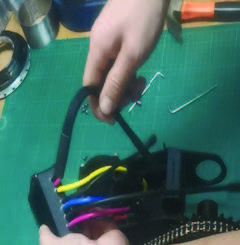
STEP 3:
Plug in the phase wires (yellow, blue, [green = red]) & insert the torque sensor wire, motor wire, XT90 connector at the back of the controller mounting plate.
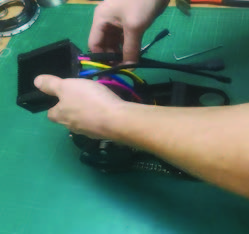

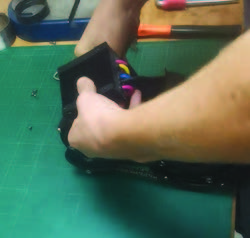
STEP 4:
Gently bend all the wires, and the house them inside the controller housing, then tighten all the bolts on the controller mount.
And finished! As mentioned, prior, kindly contact technical_support@cycmotor.com if further assistance is needed. Thank you!
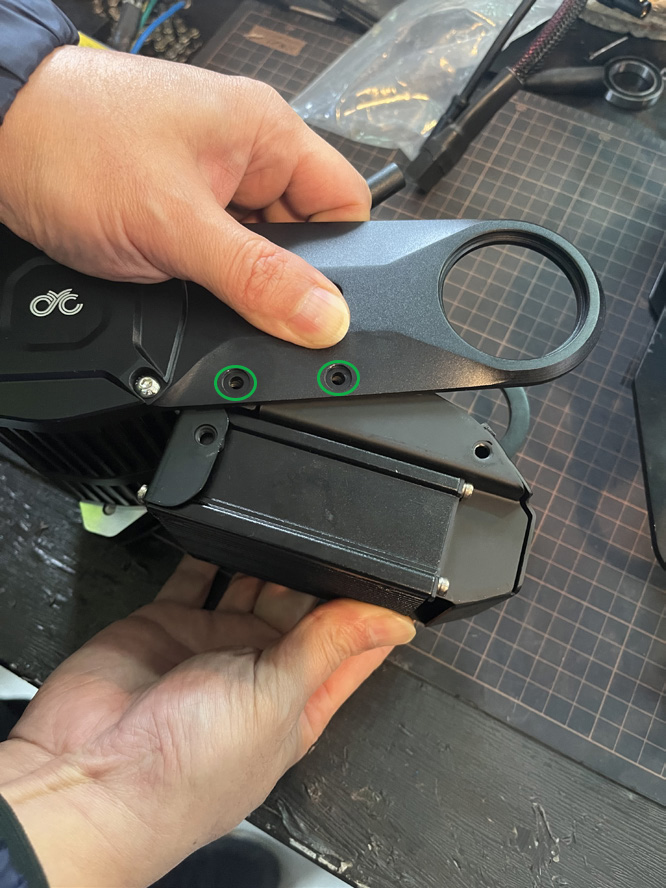
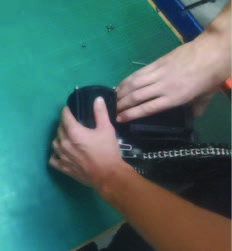
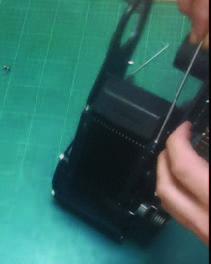
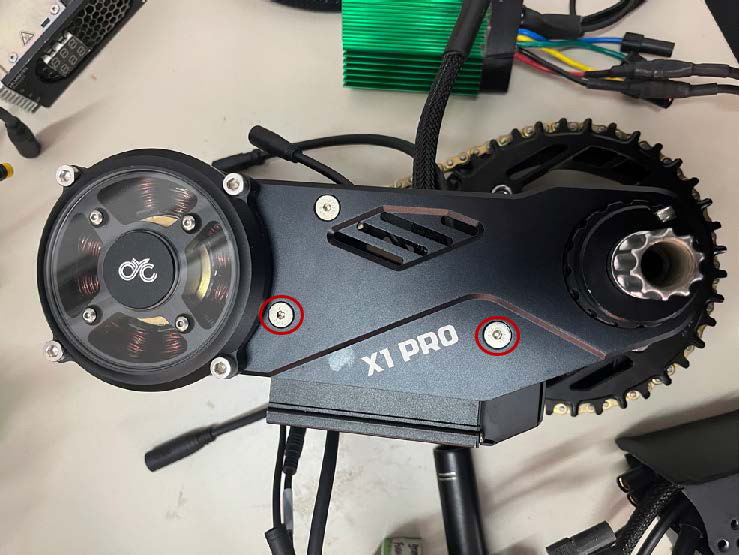
STEP 5:
Tighten the bolts according to the kit you have as follows. (X1 Pro, M5 Bolts = red circle, X1 Stealth, M4 Bolts = green circle)
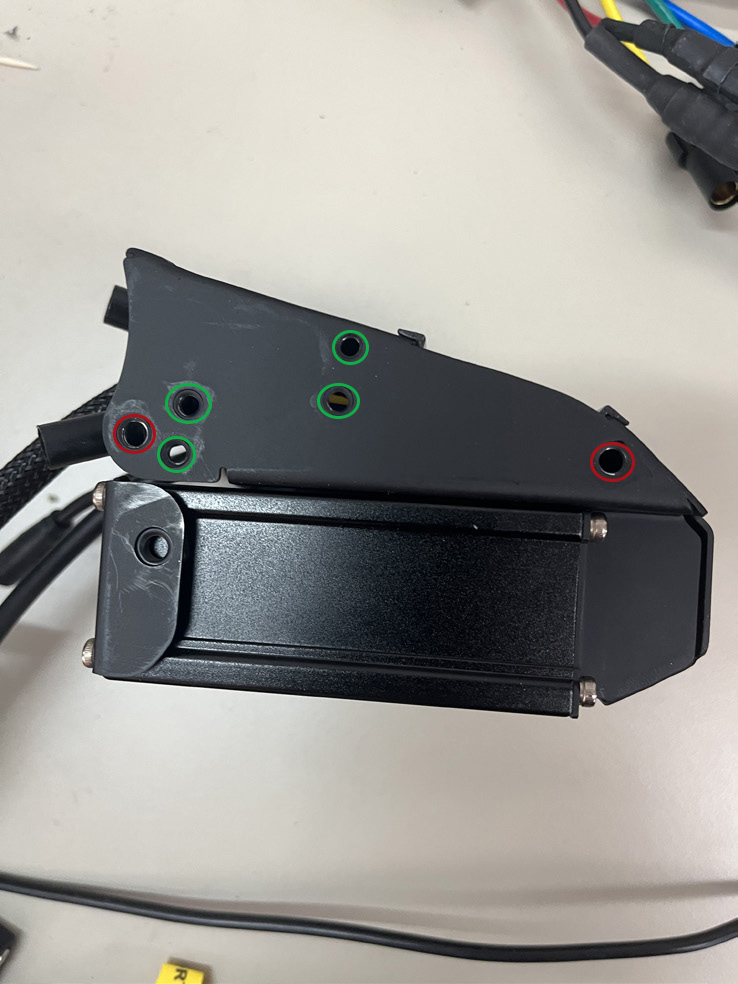
For X1 Stealth:
From the 4 circled areas, you can tighten the bolts on the upper 2 green circles, or the lower 2 green circles depending on your preference.
X1 Pro
X1 Stealth