Replacements & Repairs (X1 Pro Gen 2)
In some cases, it may be needed to replace the components of the kit. Below, you will find guidelines on how to perform these replacements using standard tools as well as the CYC Official Distributors & OEM Tool Kit.
Struggling with anything? Contact us
Replacing the X1 Pro Gen 4 Sprag clutch
Repairs
Bottom Bracket Threads
Gen 2
1.37" *24 TPI
*For BSA version only; standard BSA/ English thread pitch
Gen 3
M28*1
O'Rings
Gen 2
Bottom Brackets
Gen 2 PF version BBs get 2x 38*41*1.5 o'rings
Front-Wheel and Torque Sensor replacement
FRONT-WHEEL AND TORQUE Sensor Replacement
CYC X6 CONTROLLER UPGRADE KIT GUIDE
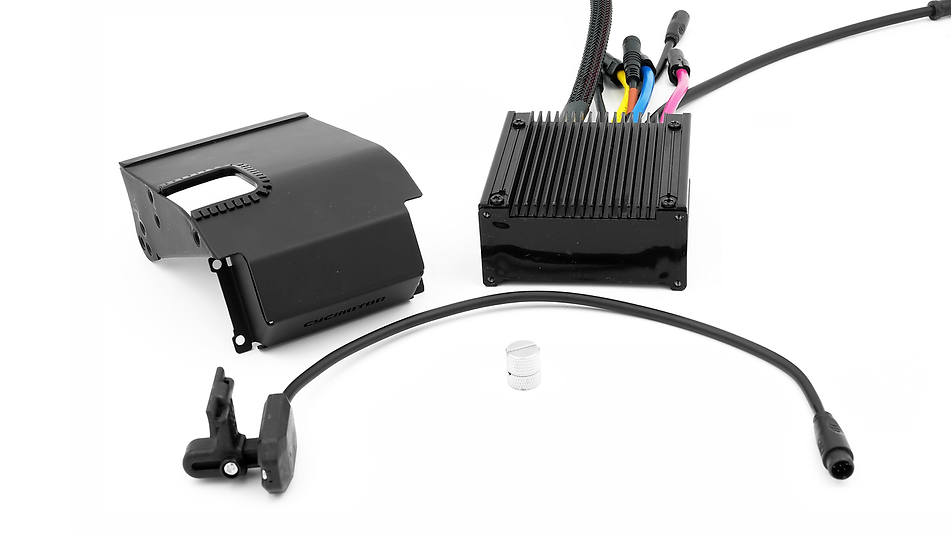
To upgrade from the ASI BAC855 to the CYC X6 Controller, the following components are required for conversion:
- CYC X6 Controller
- Wire Cover Plate
- Bluetooth Speed Sensor & Magnet
- Speed Sensor Magnet
- SW102/DS103 Display (optional)
Please note that the partes and images used in the below guide are for reference only. We strongly encourage you to email technical_support@cycmotor.com if you are uncertain about any of the steps described below.
STEP 1:
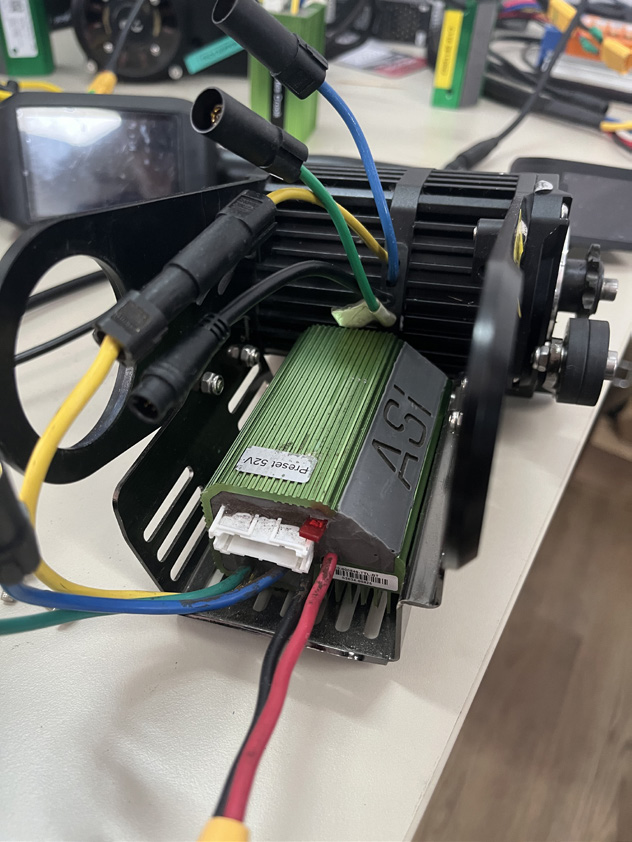
Unplug the phase wires (yellow, blue, red), torque sensor wire, motor wire & XT90 connector from the BAC855 controller mount.
STEP 2:
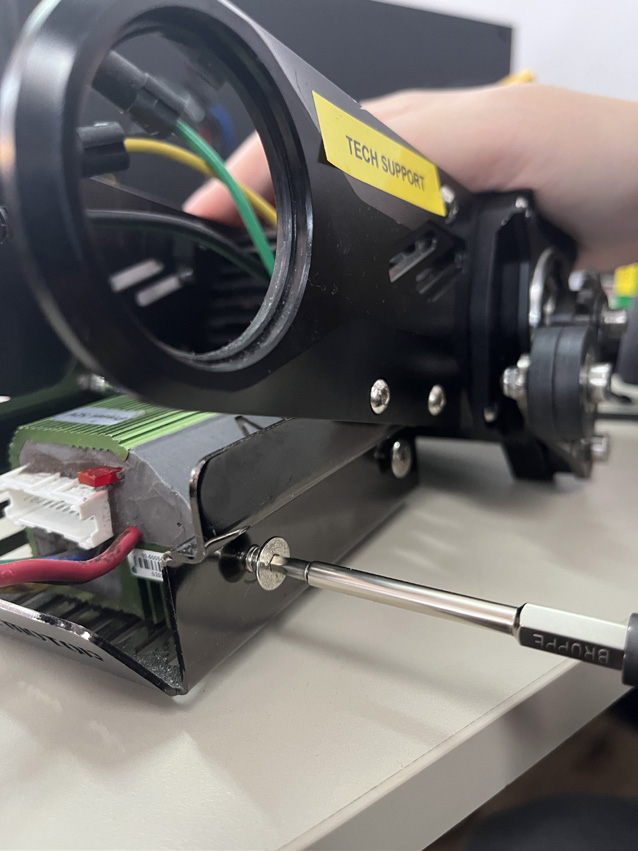
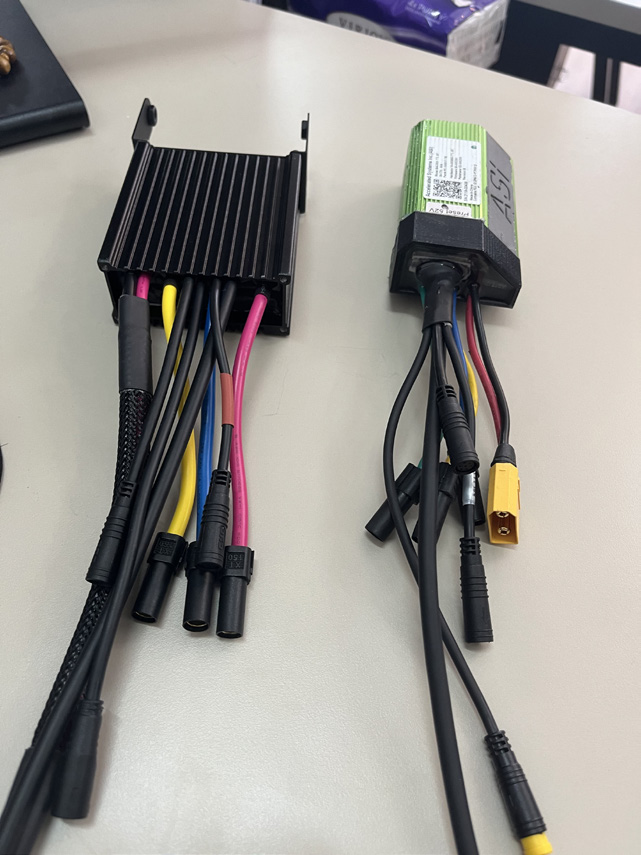
Unscrew the BAC855 controller mount bolts from sides and remove the controller & controller mount to install the X6 controller.
STEP 3:
Plug in the phase wires (yellow, blue, [green = red]) & insert the torque sensor wire, motor wire, XT90 connector at the back of the controller mounting plate.
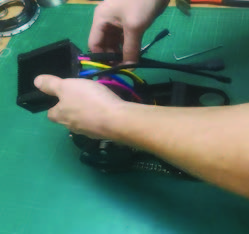
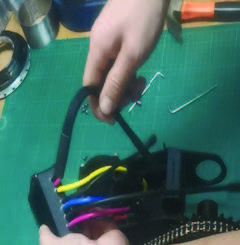
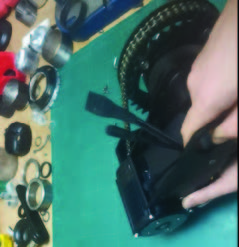
STEP 4:
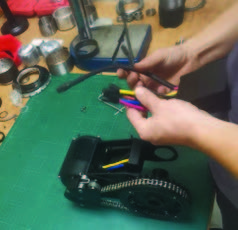
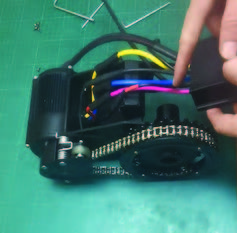
Gently bend all the wires, and the house them inside the controller housing, then tighten all the bolts on the controller mount.
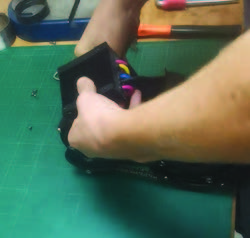
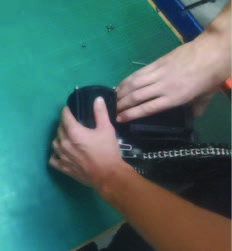
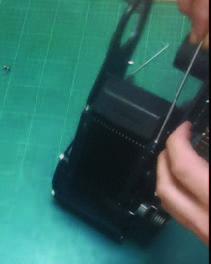
And finished! As mentioned, prior, kindly contact technical_support@cycmotor.com if further assistance is needed. Thank you!
STEP 5:
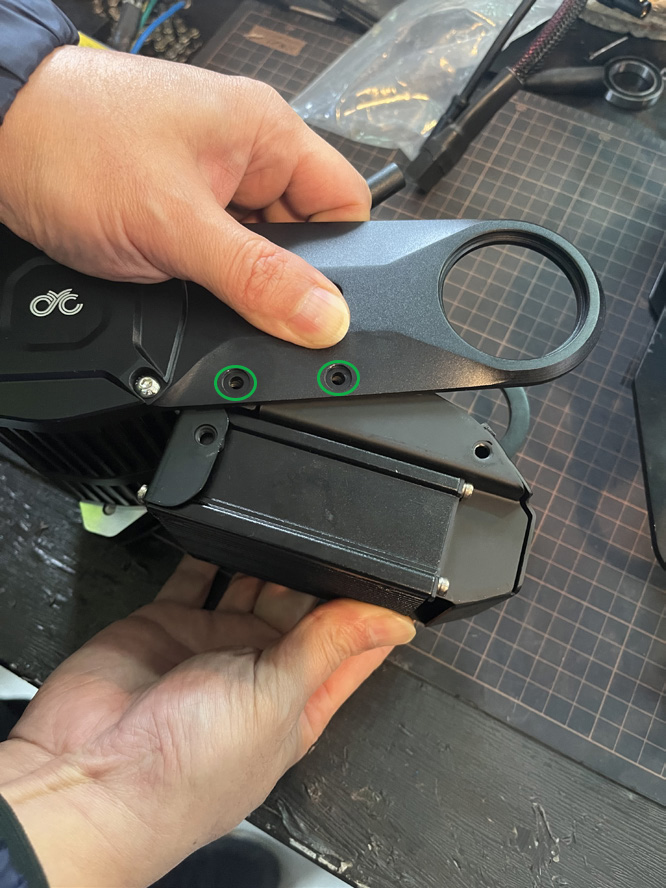
Tighten the bolts according to the kit you have as follows. (X1 Pro, M5 Bolts = red circle, X1 Stealth, M4 Bolts = green circle)
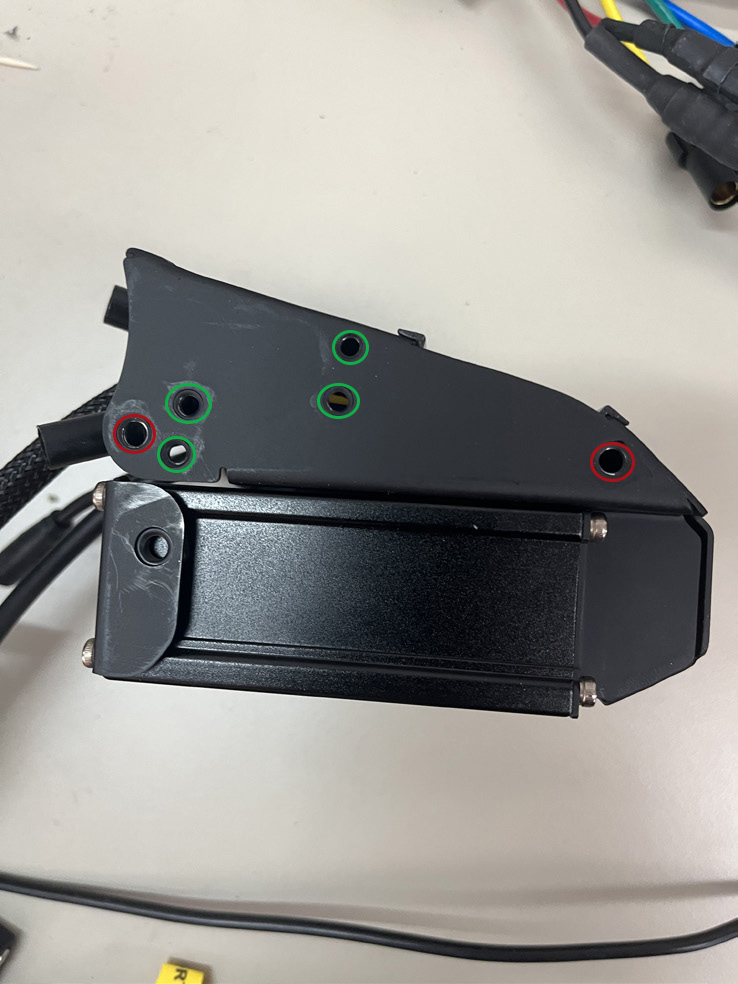
For X1 Stealth:
From the 4 circled areas, you can tighten the bolts on the upper 2 green circles, or the lower 2 green circles depending on your preference.
X1 Pro
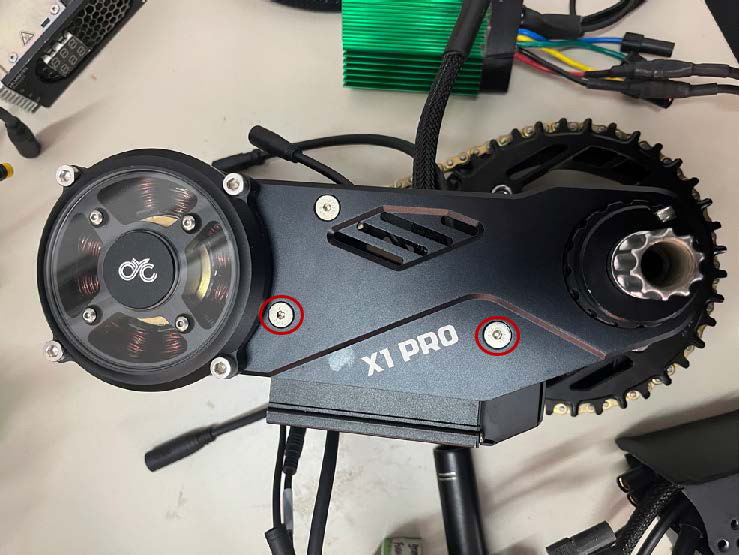
X1 Stealth
