X1 Pro Gen 4 - Freewheel & Torque Sensor Disassembly Guide
📄
X1 Pro Gen 4: Freewheel & Torque Sensor Disassembly Guide
X1 Pro Gen 4: Freewheel & Torque Sensor Disassembly GuideOverview
Tools NeededDisassembly InstructionsStep 1: Remove the Bearing CoverStep 2: Remove Motor Axle ScrewStep 3: Loosen the Freewheel HousingReassembly InstructionsStep 1: Install the Sprag ClutchStep 2: Align ComponentsStep 3: Press or Tap Components TogetherStep 4: Secure the Assembly
Overview
This guide outlines the disassembly and reassembly procedures for the Gen 4 freewheel & torque sensor assembly.
Tools Needed
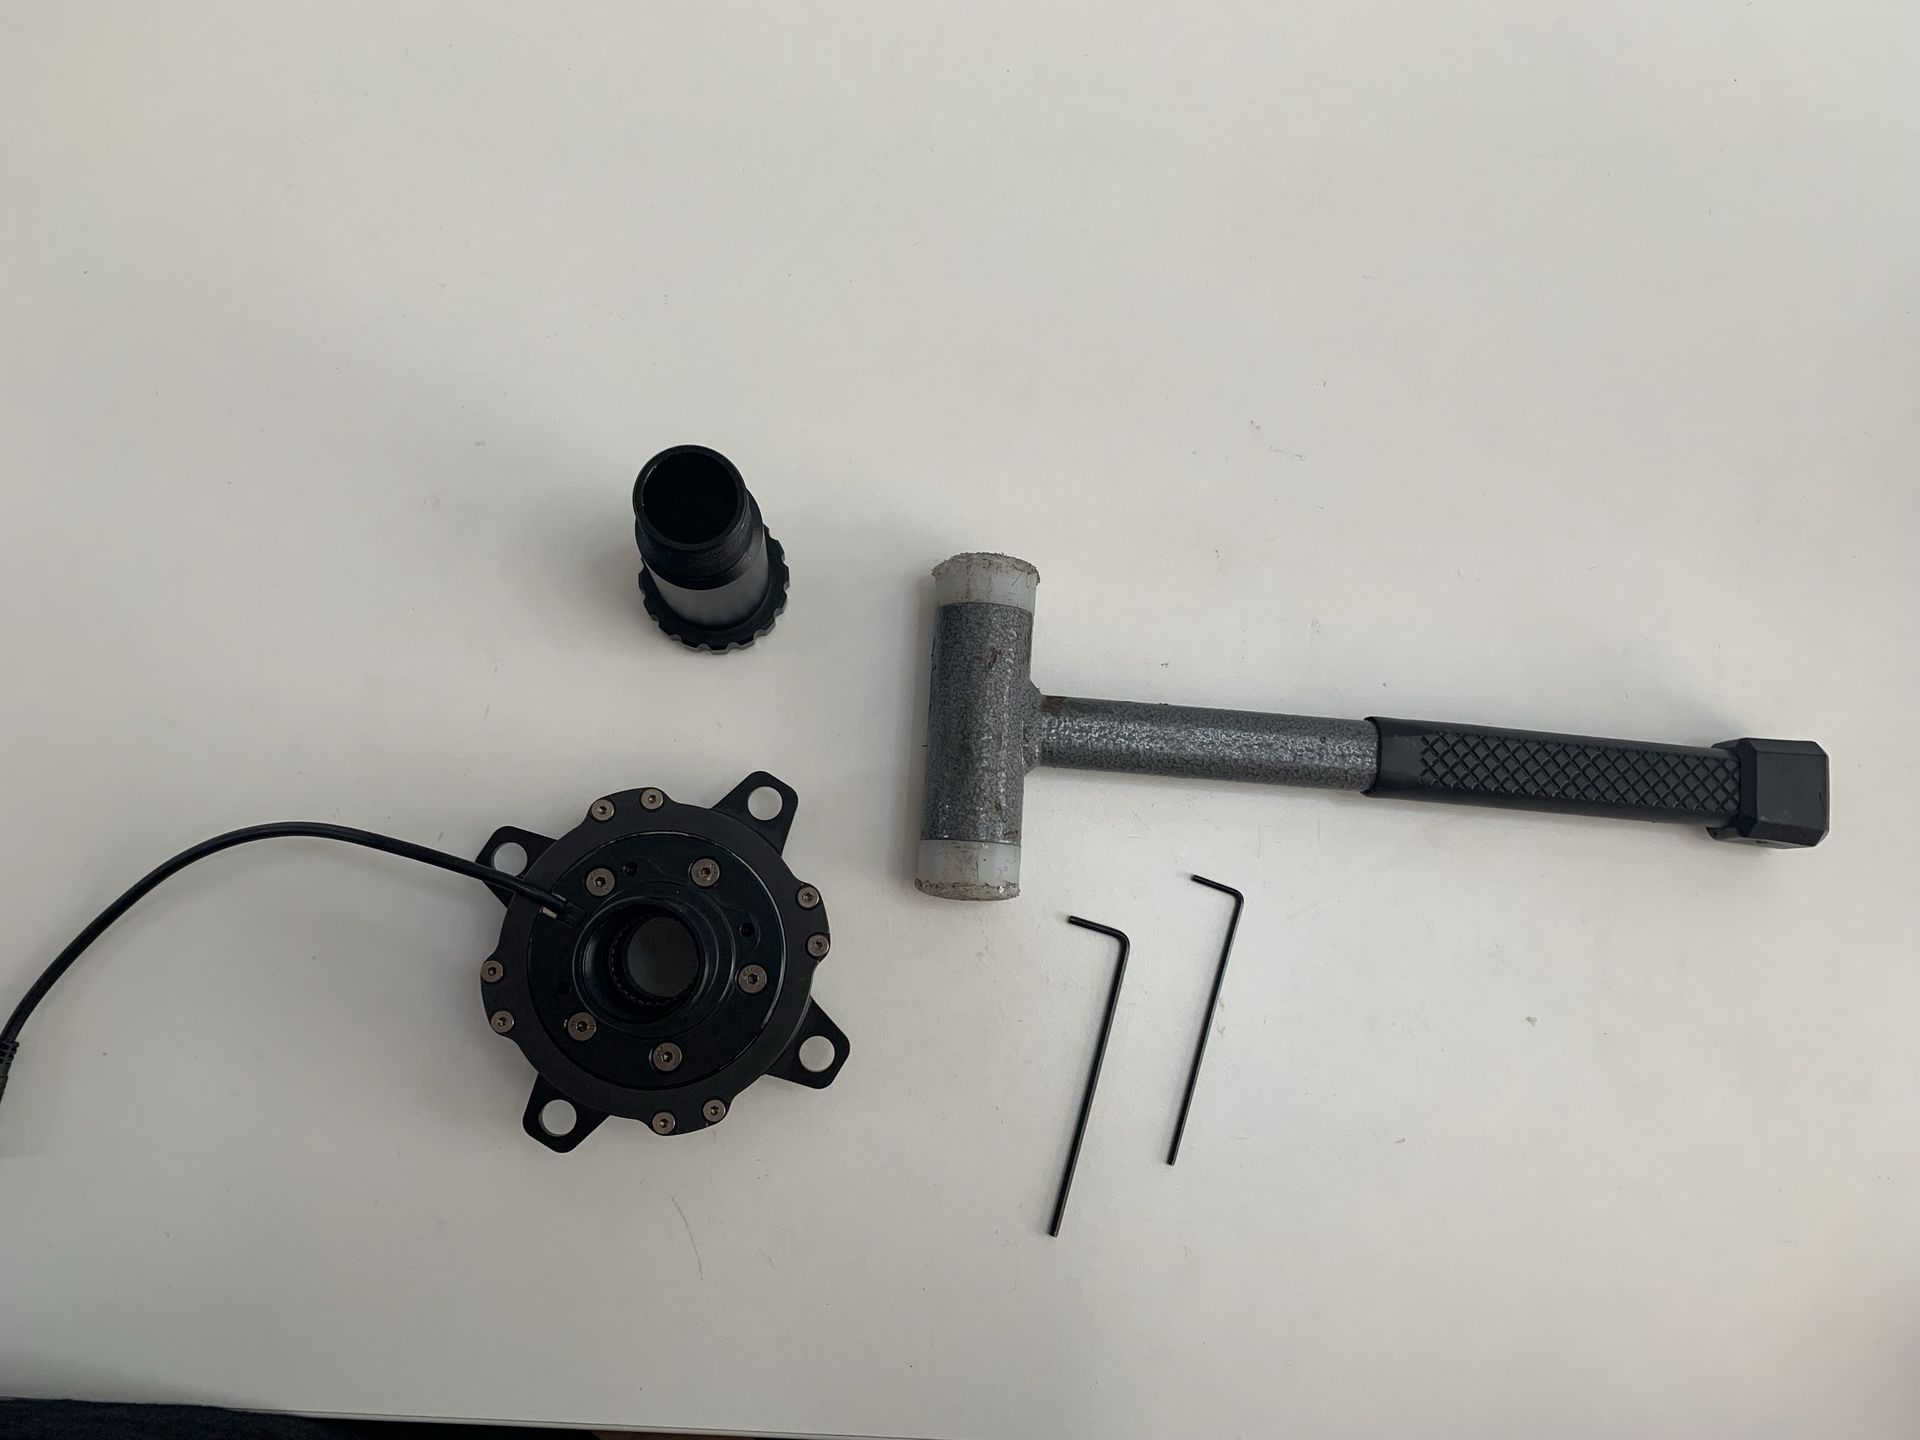
- Hex wrenches
- Bottom Bracket cup tool
- Rubber or plastic mallet
- Bearing press (recommended)
- Clean cloth
Disassembly Instructions
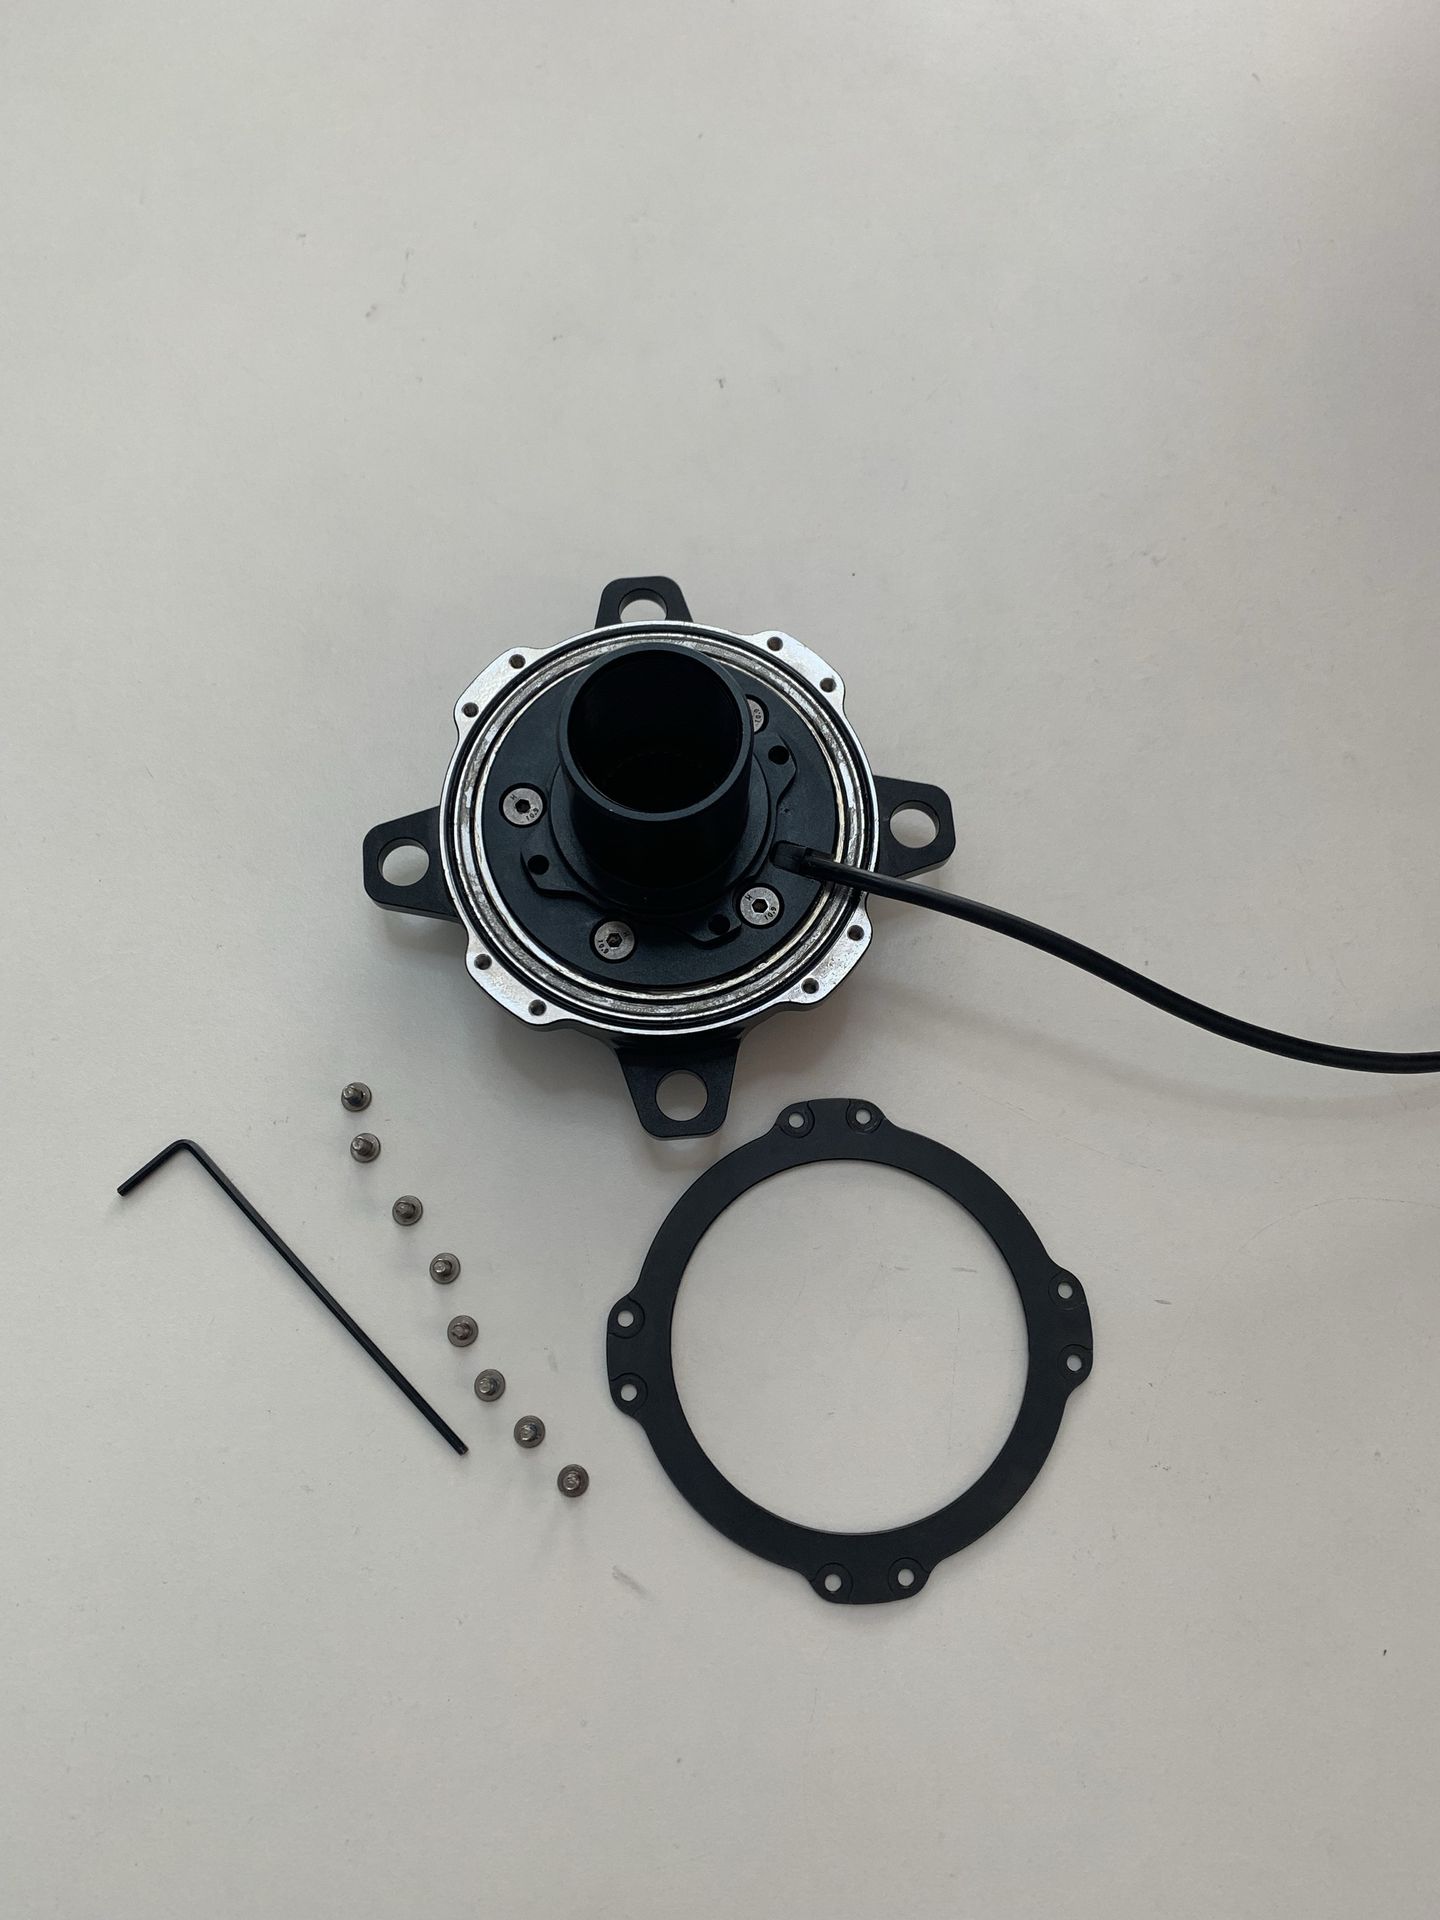
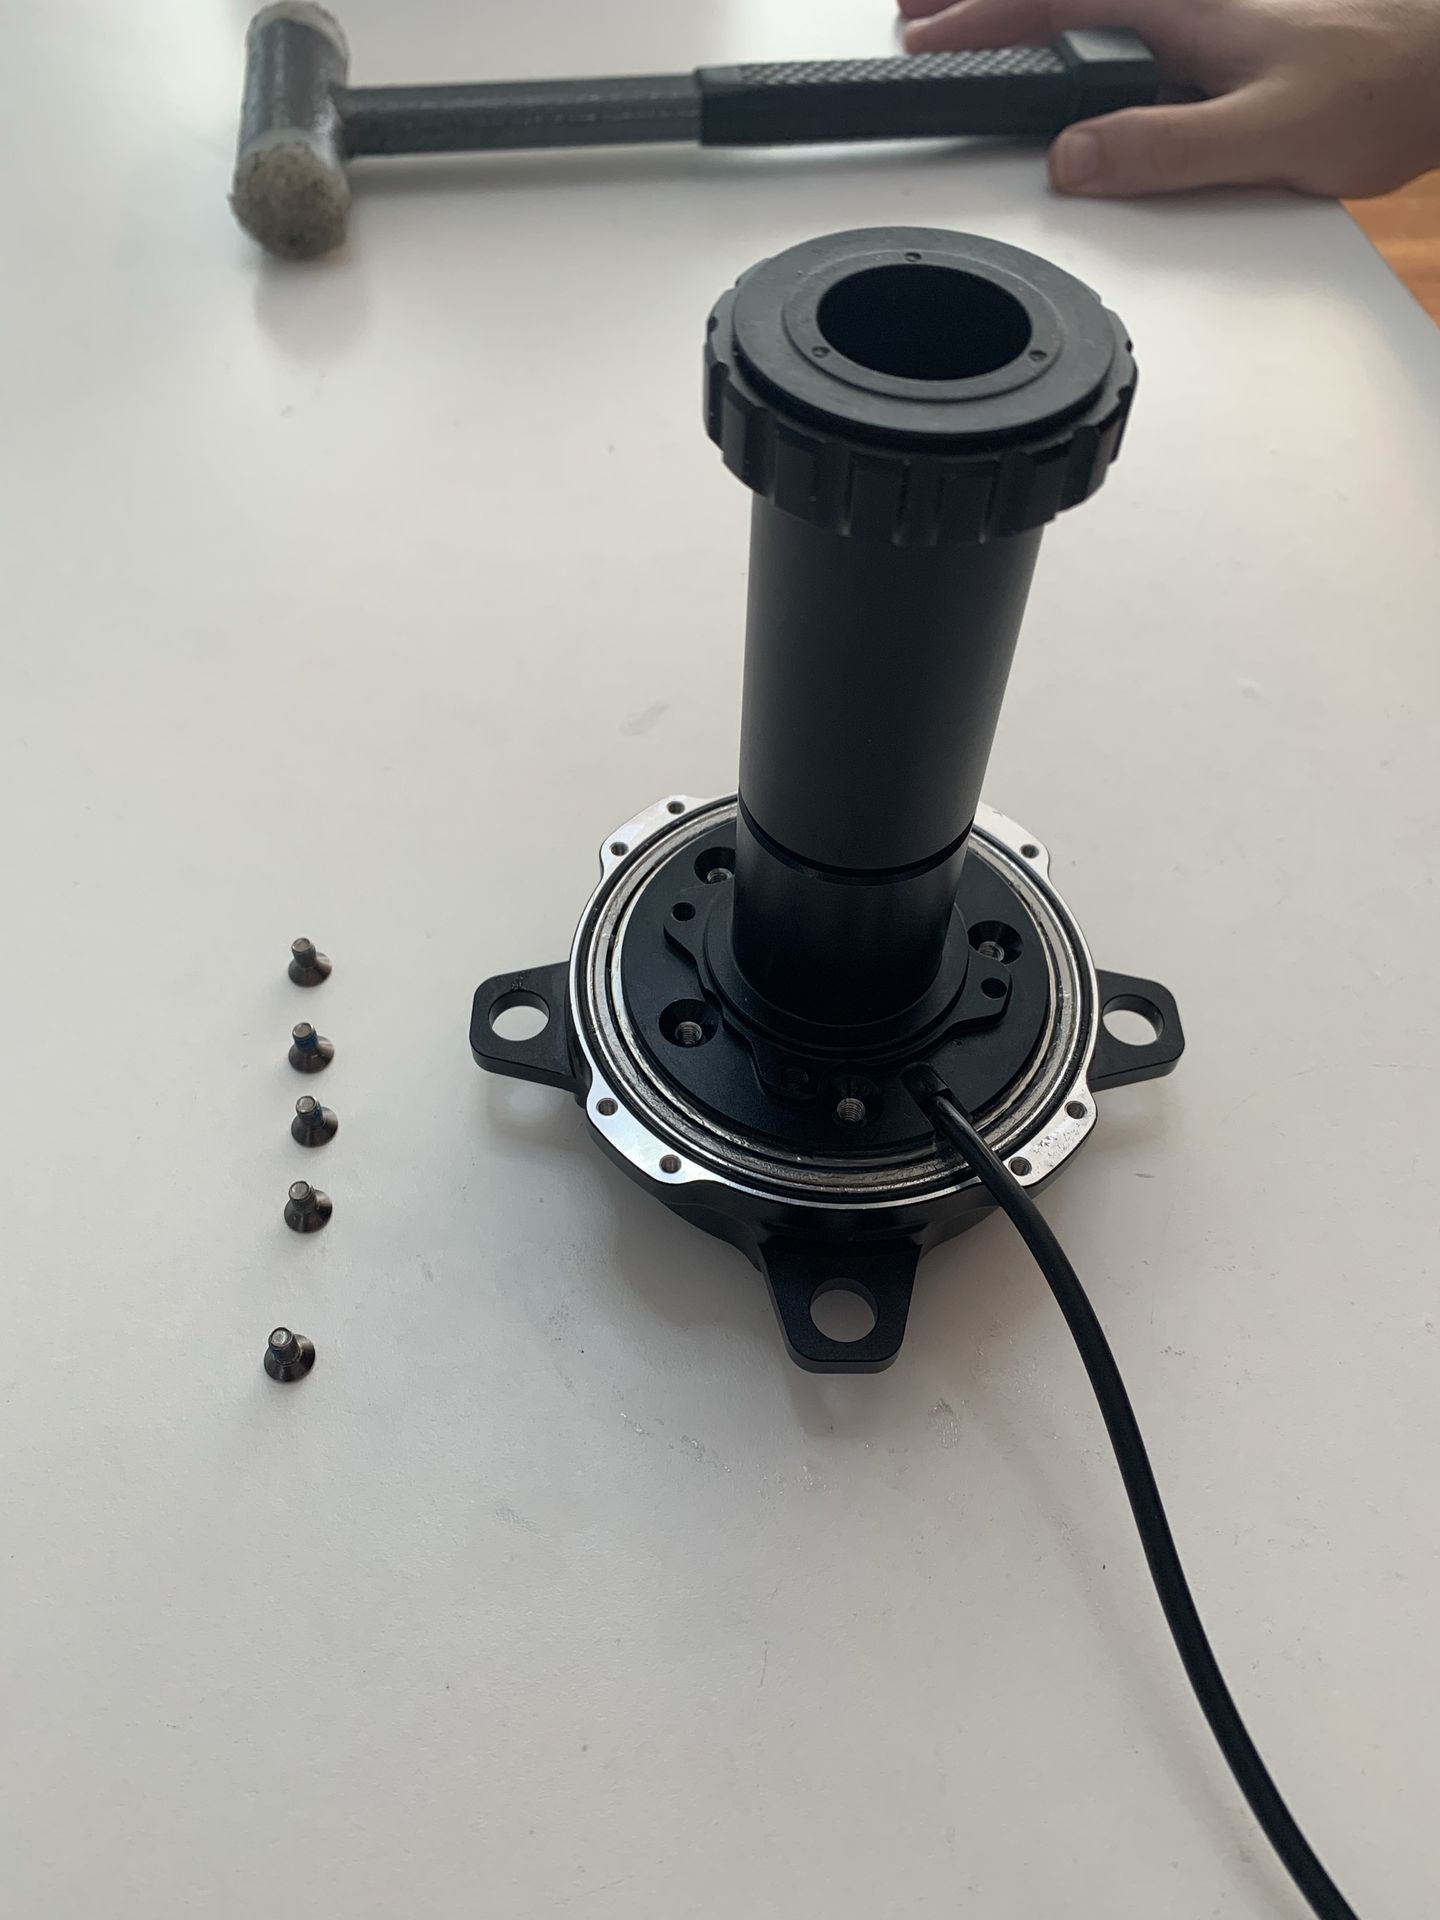
Step 1: Remove the Bearing Cover
- Unscrew and remove all bearing cover screws.
- Carefully lift off the bearing cover and set it aside.
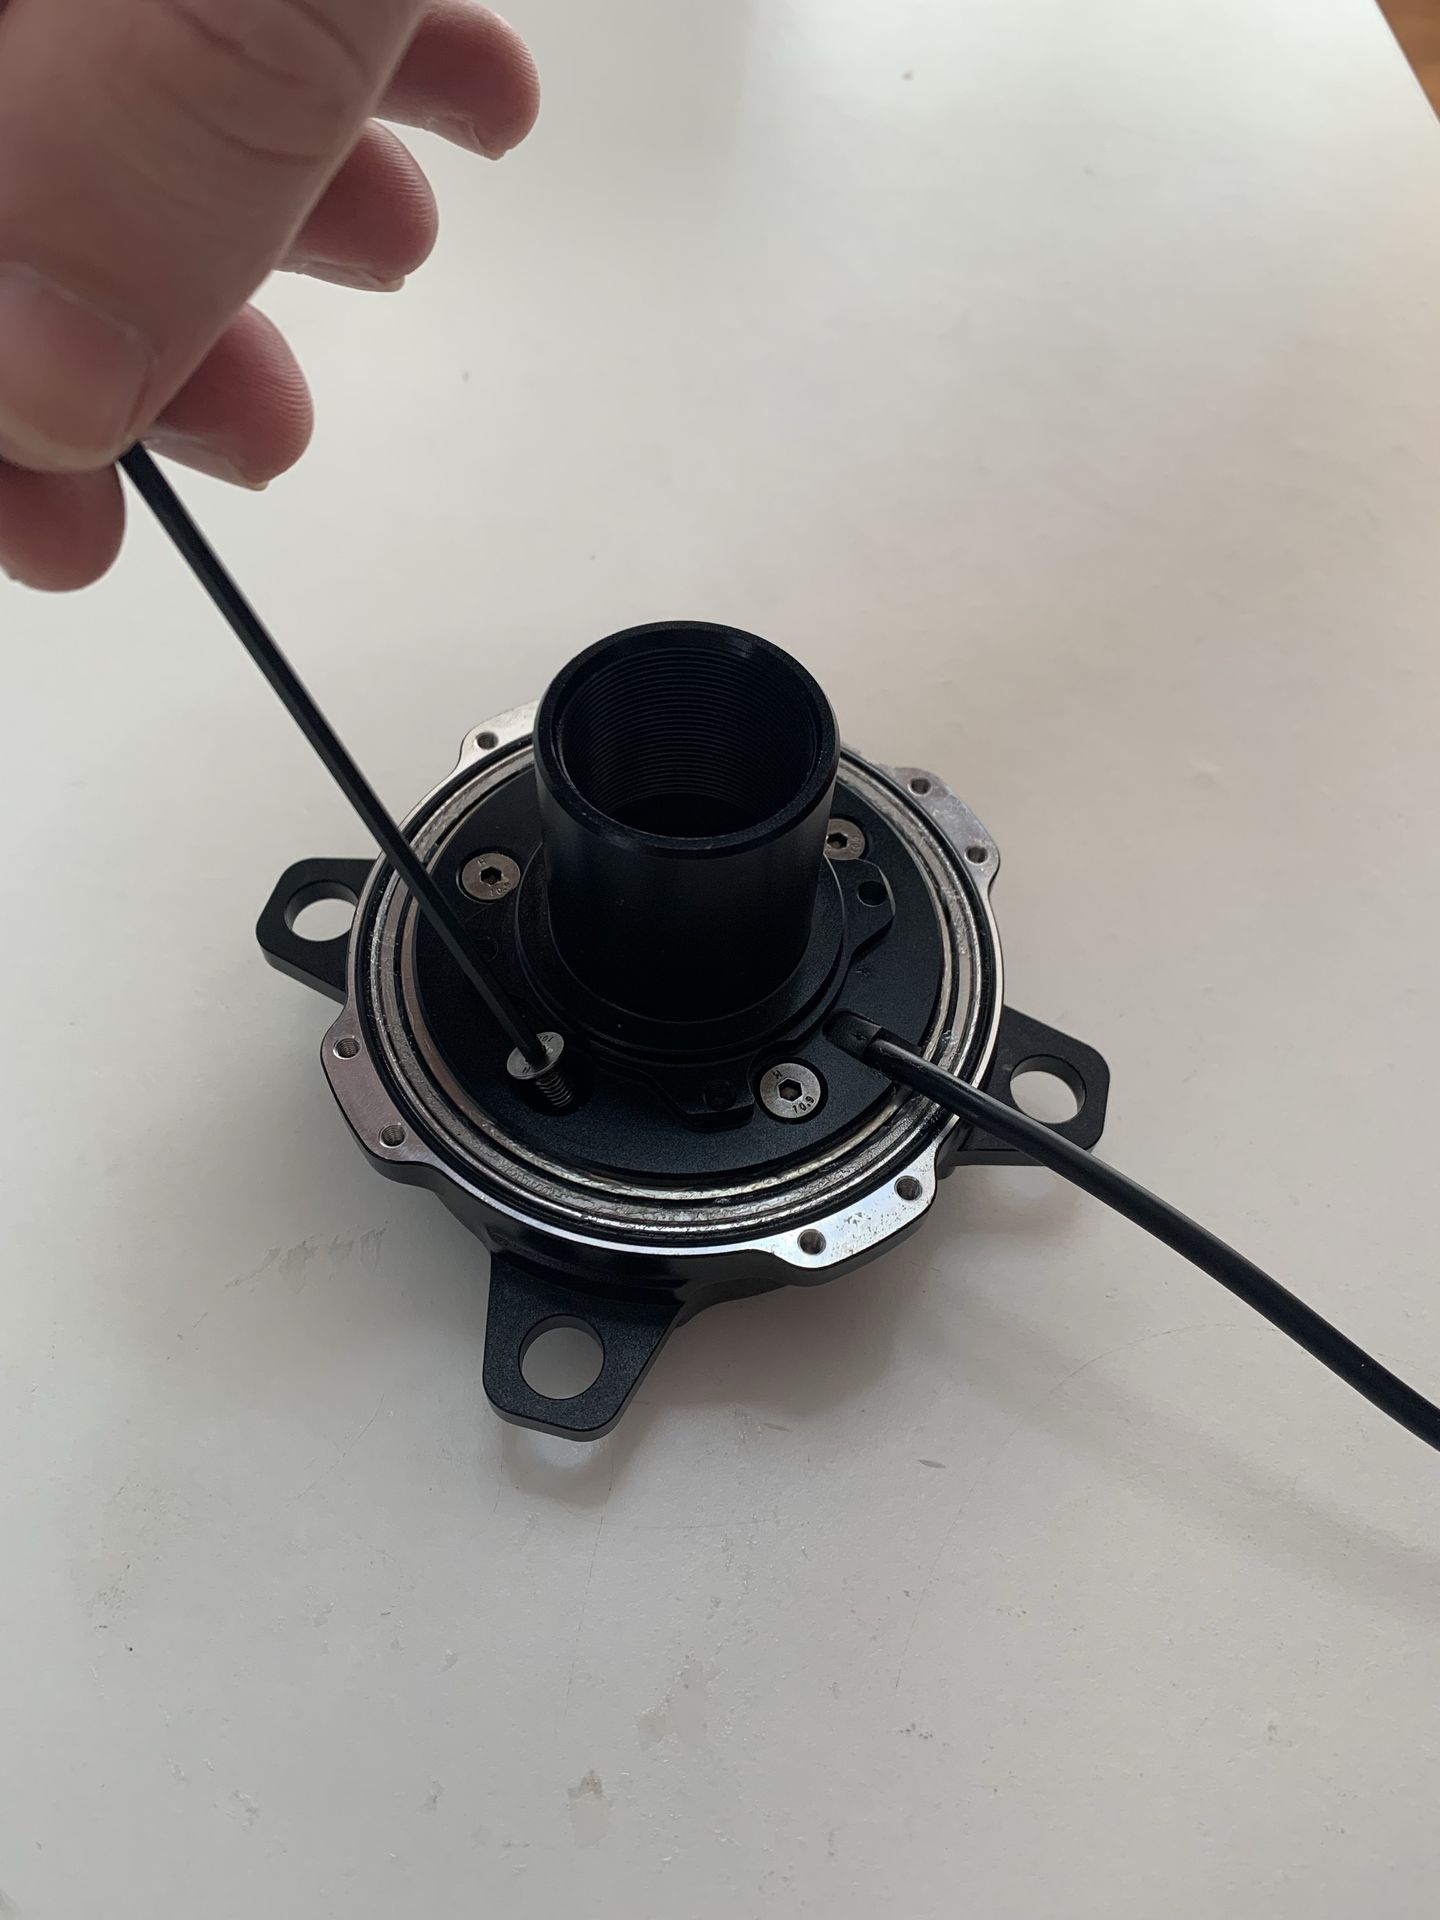
Step 2: Remove Motor Axle Screw
- Unscrew the bolt that secures the motor axle to the freewheel assembly.
- Keep the bolt in a safe place for reassembly.

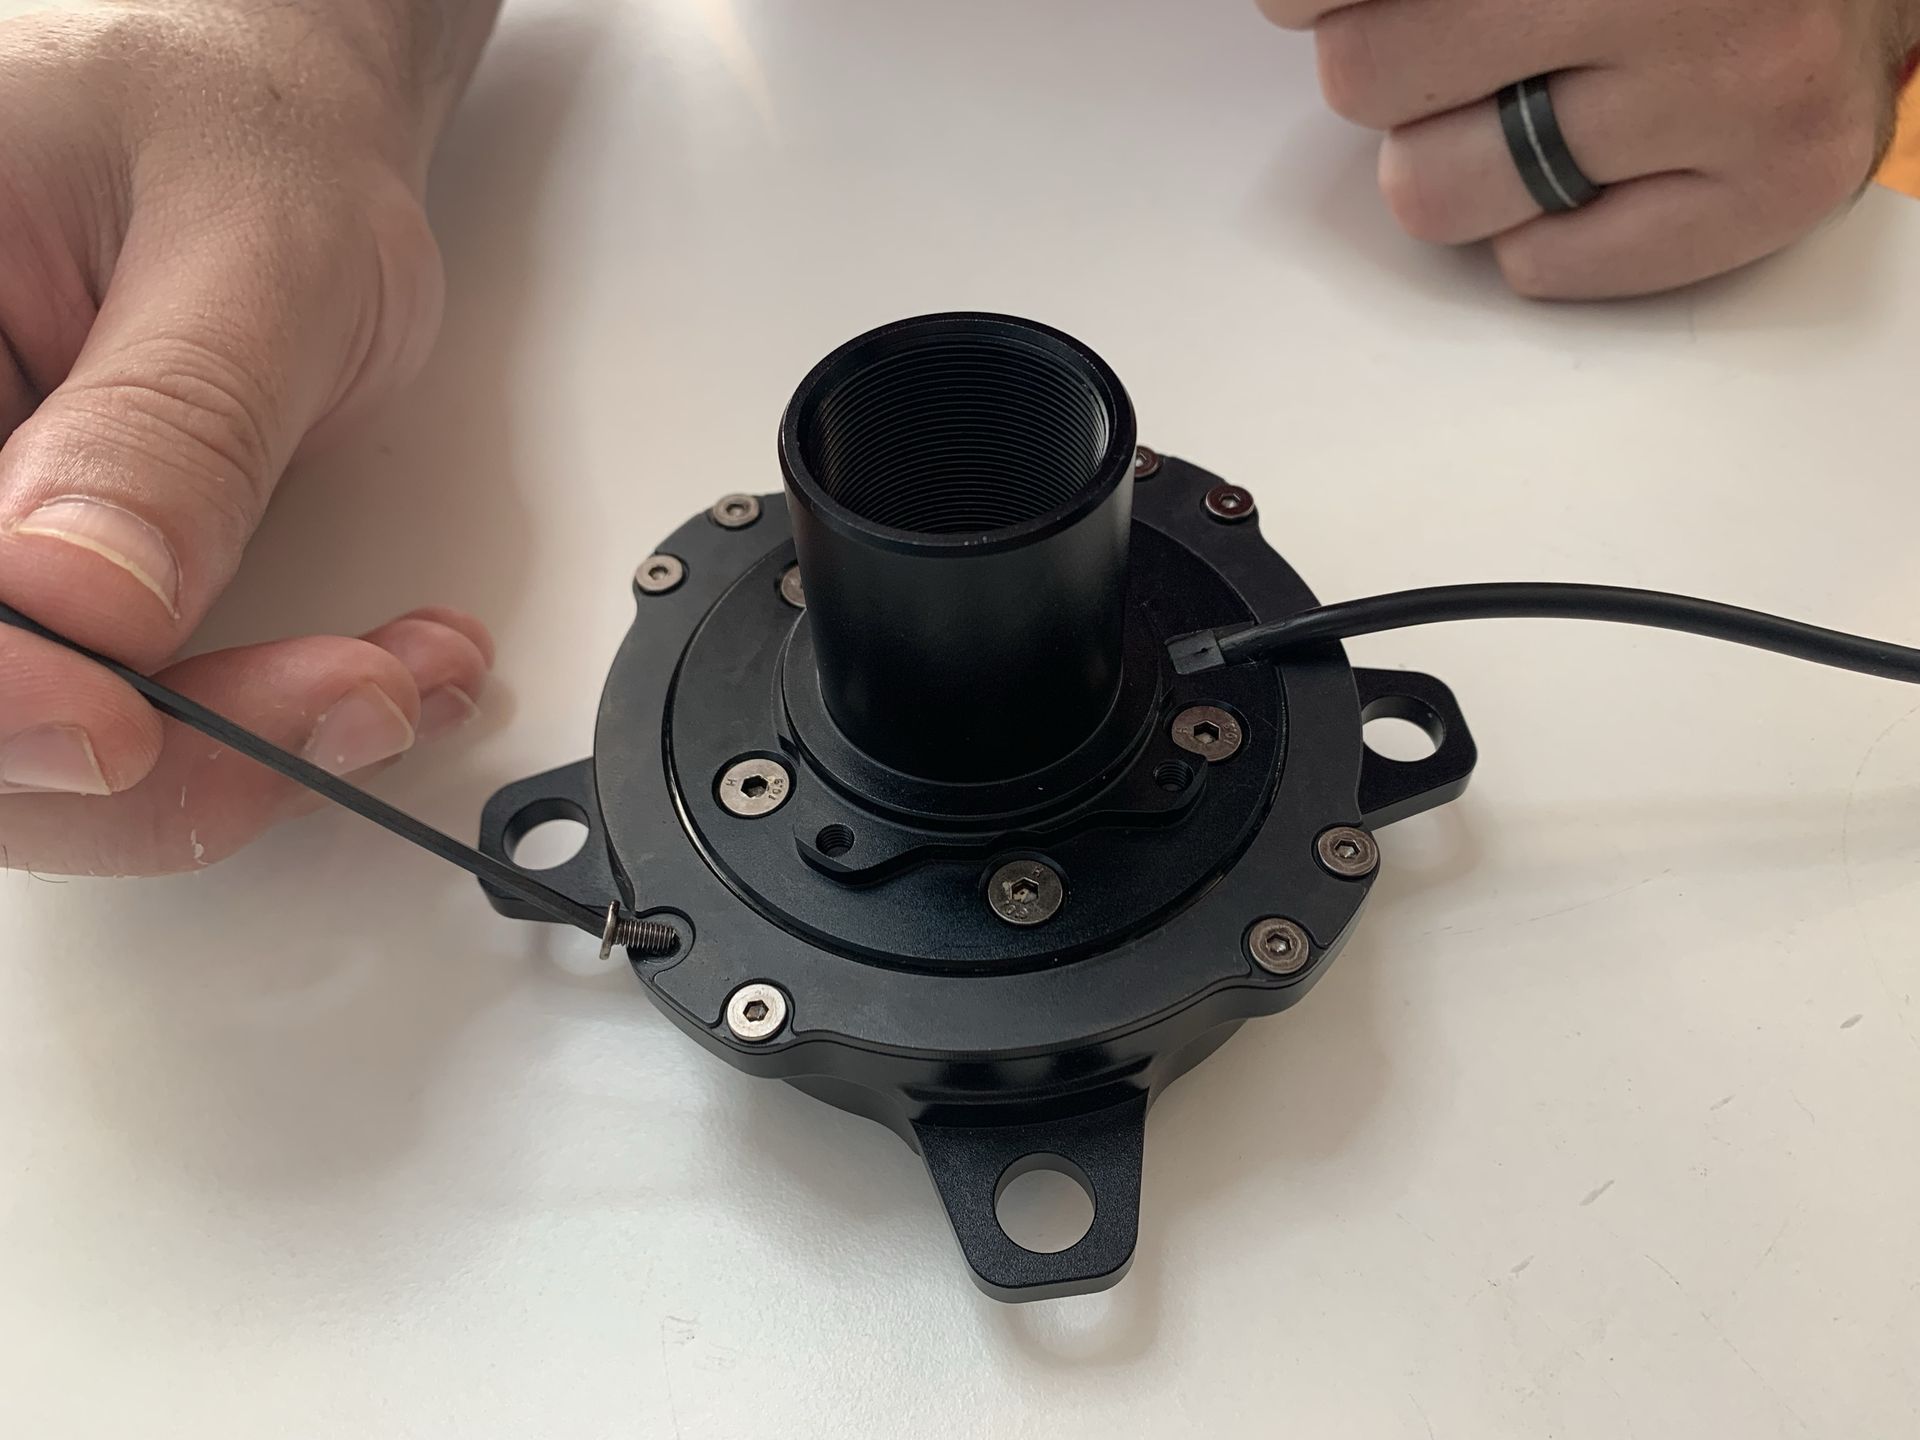
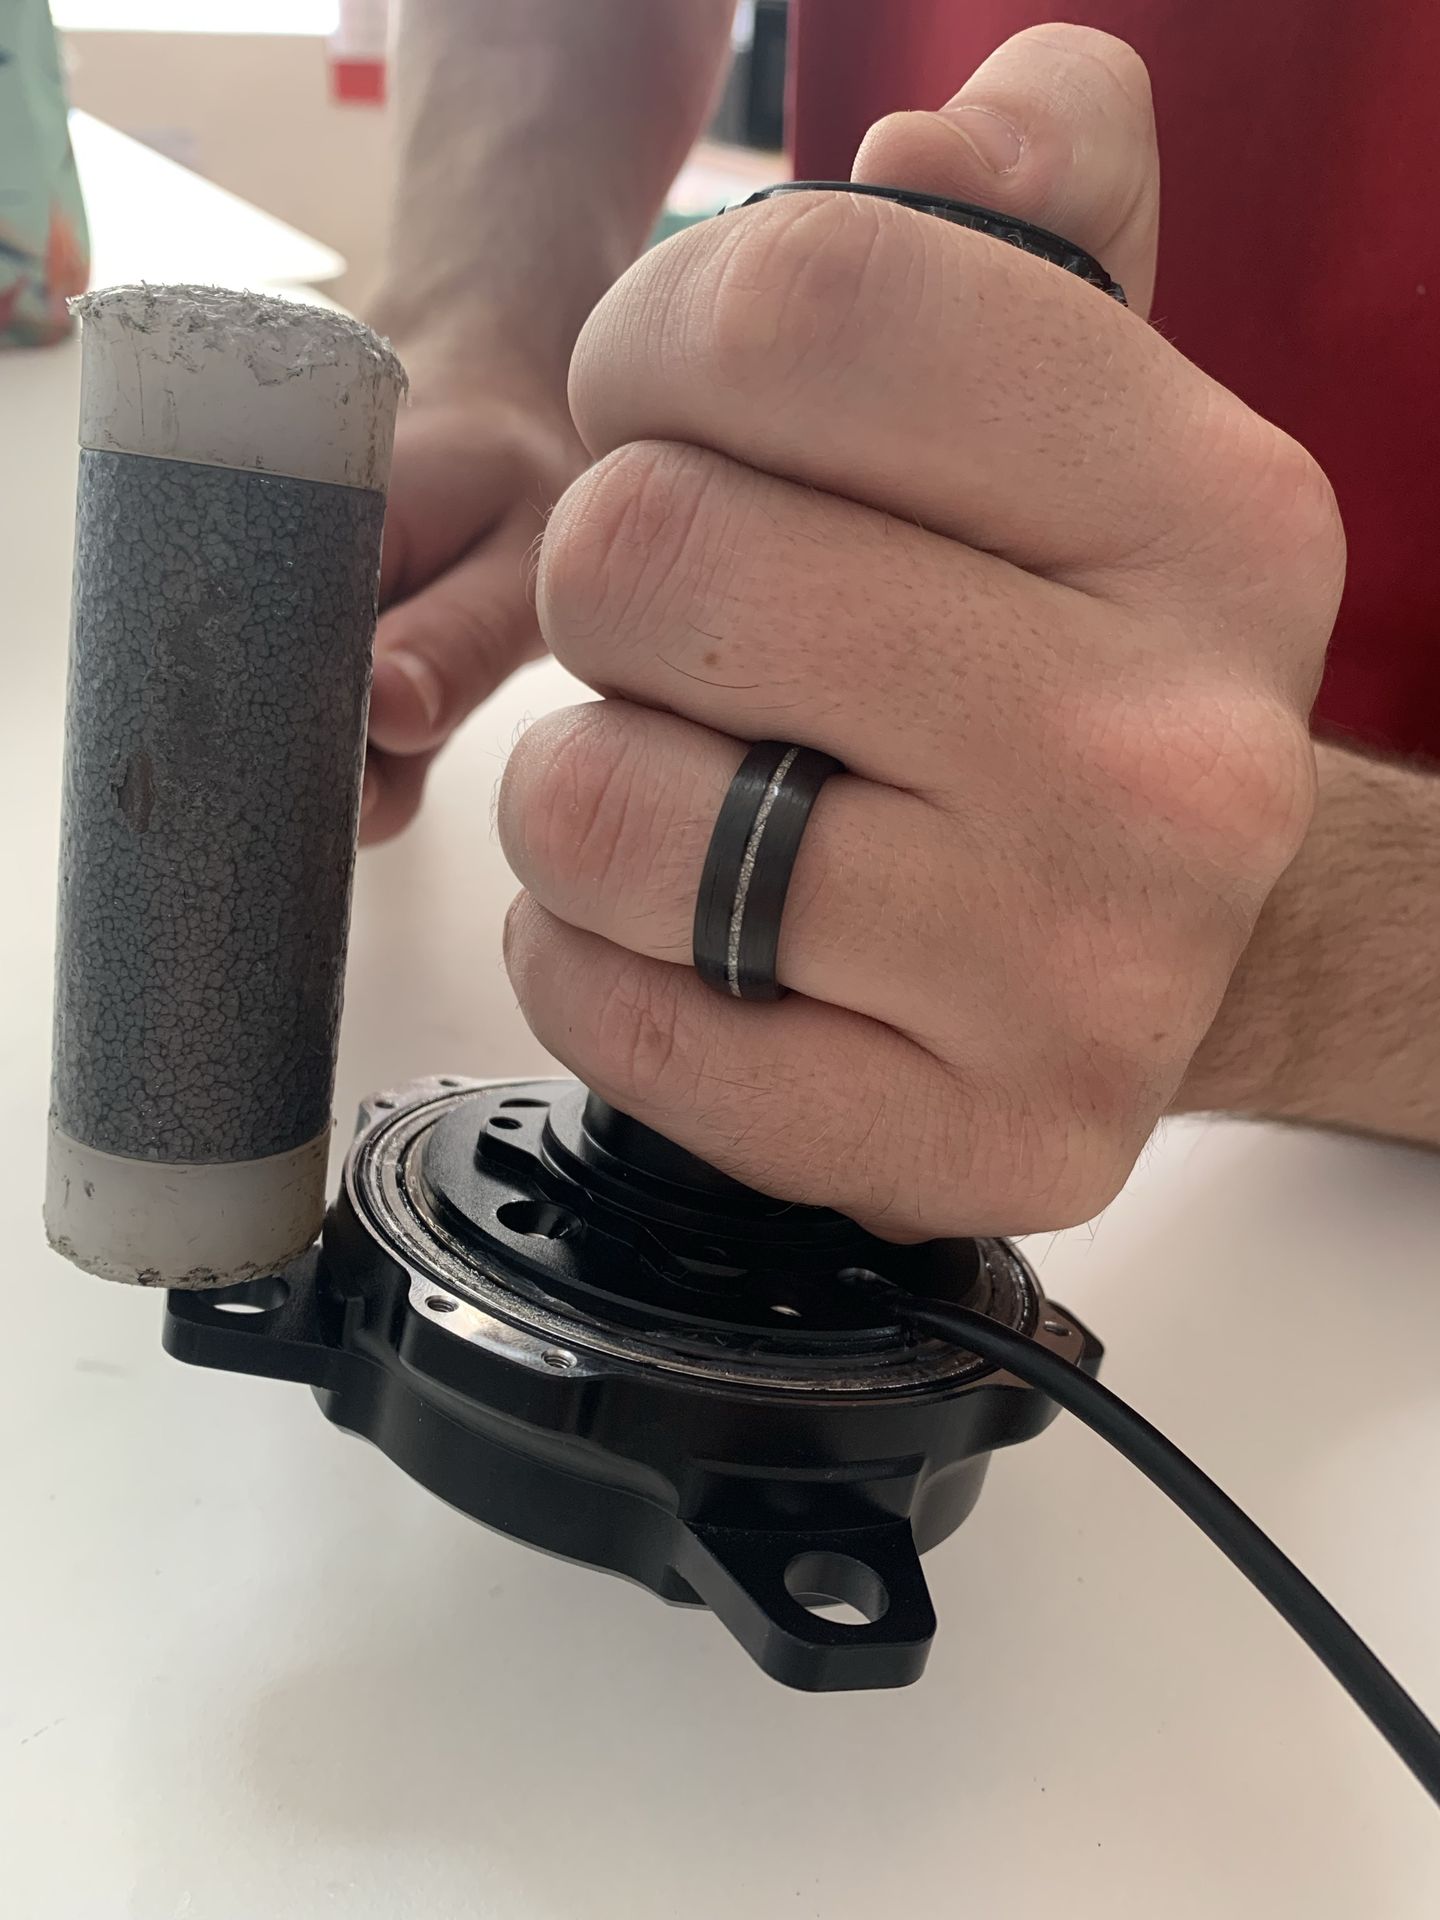
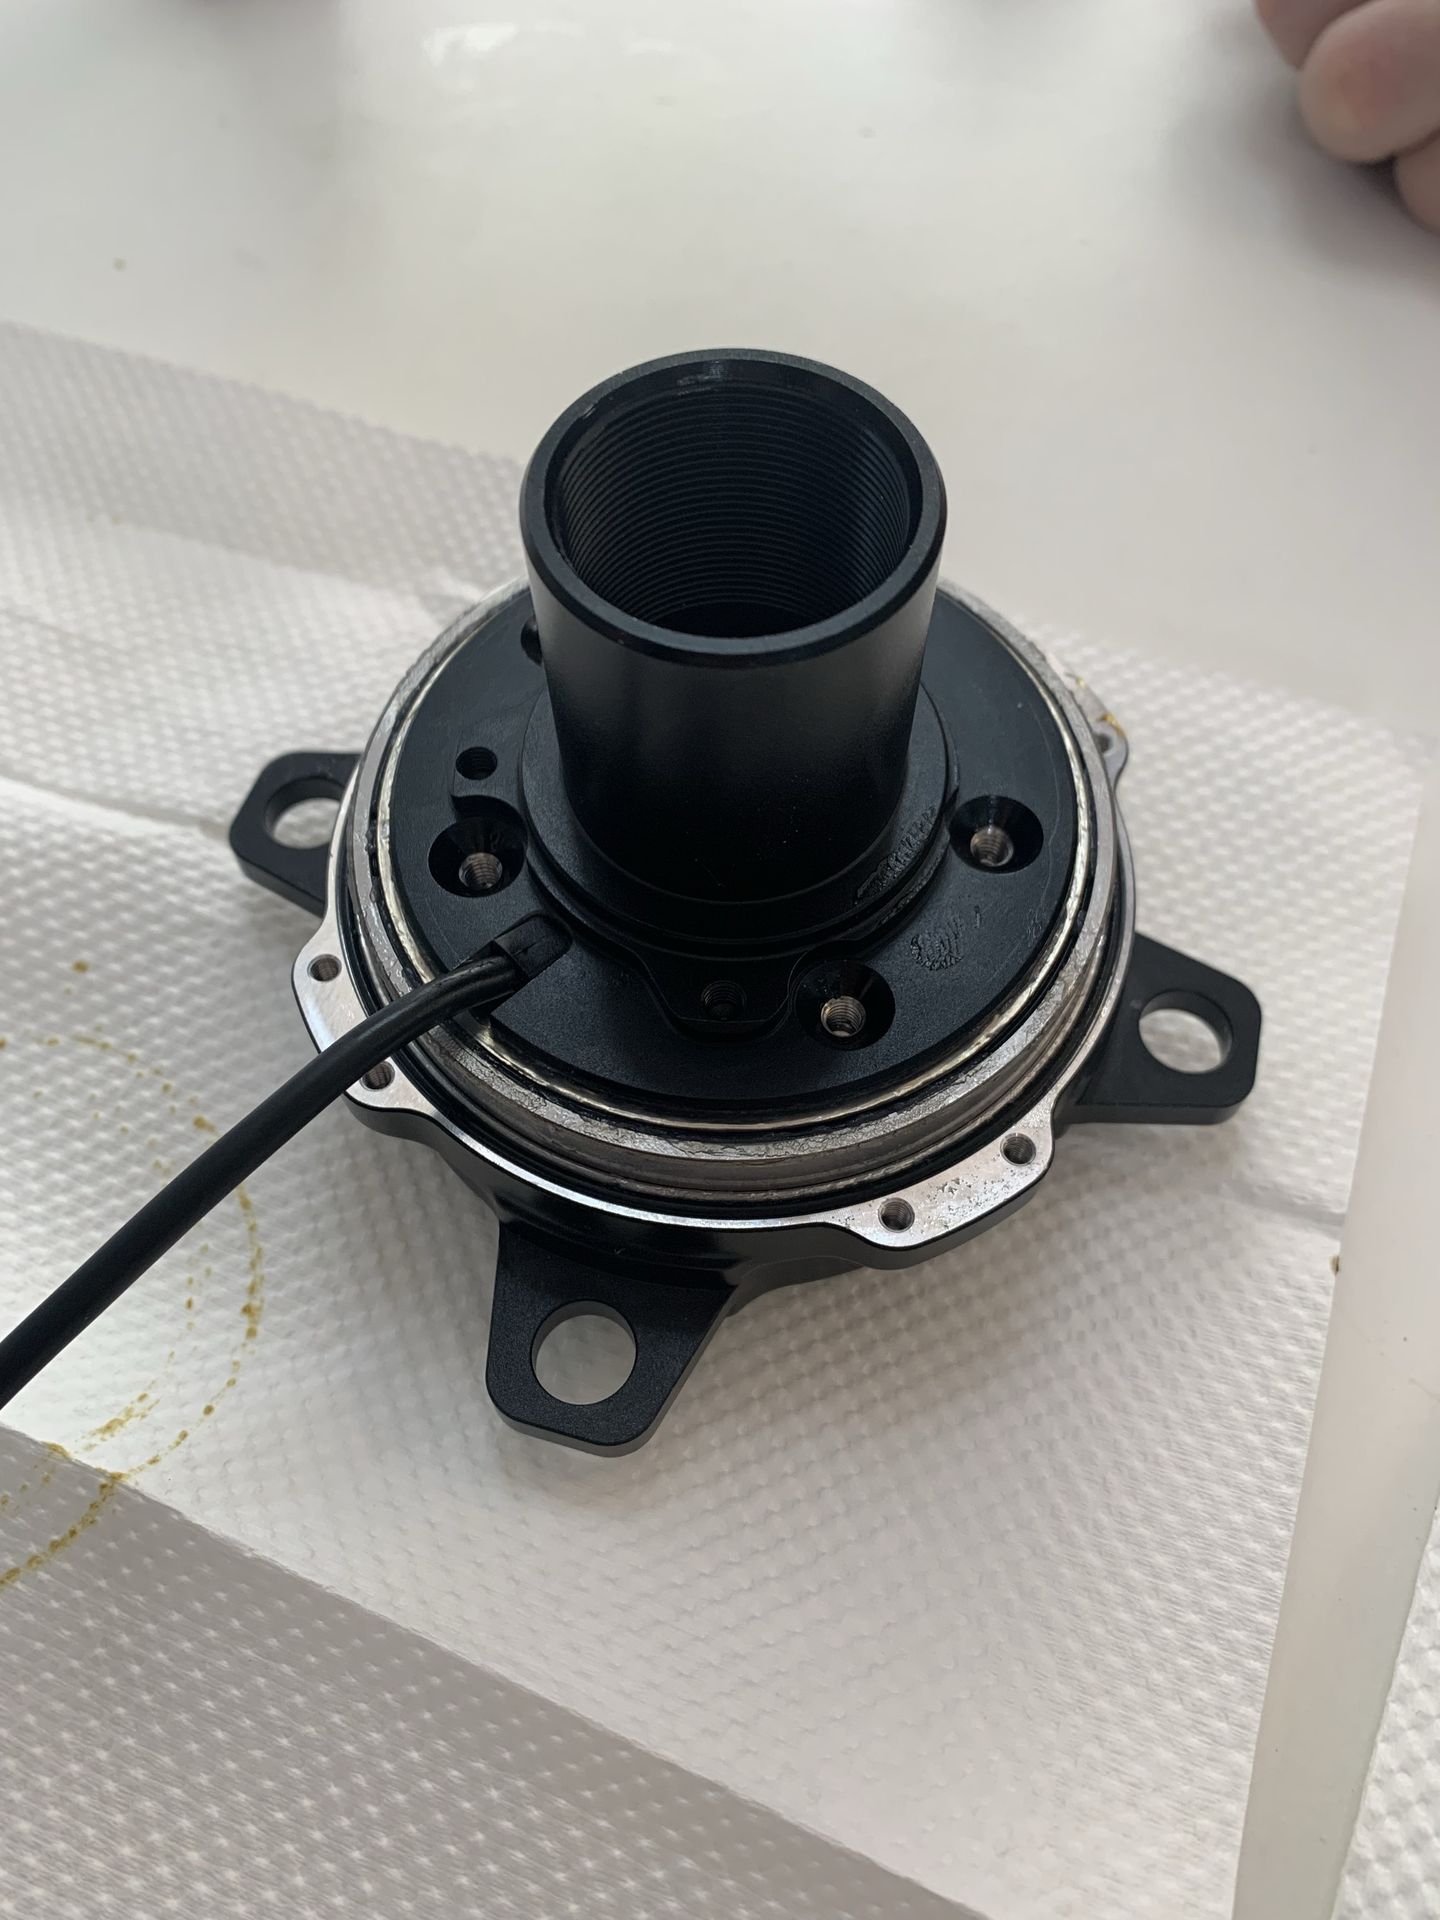
Step 3: Loosen the Freewheel Housing
- Thread the Bottom Bracket cup tool into the freewheel housing.
-
Gently tap both ends of the freewheel axle using a rubber or plastic mallet.
- This will separate the freewheel housing from the motor axle.
- ⚠️ Avoid using excessive force to prevent damage.
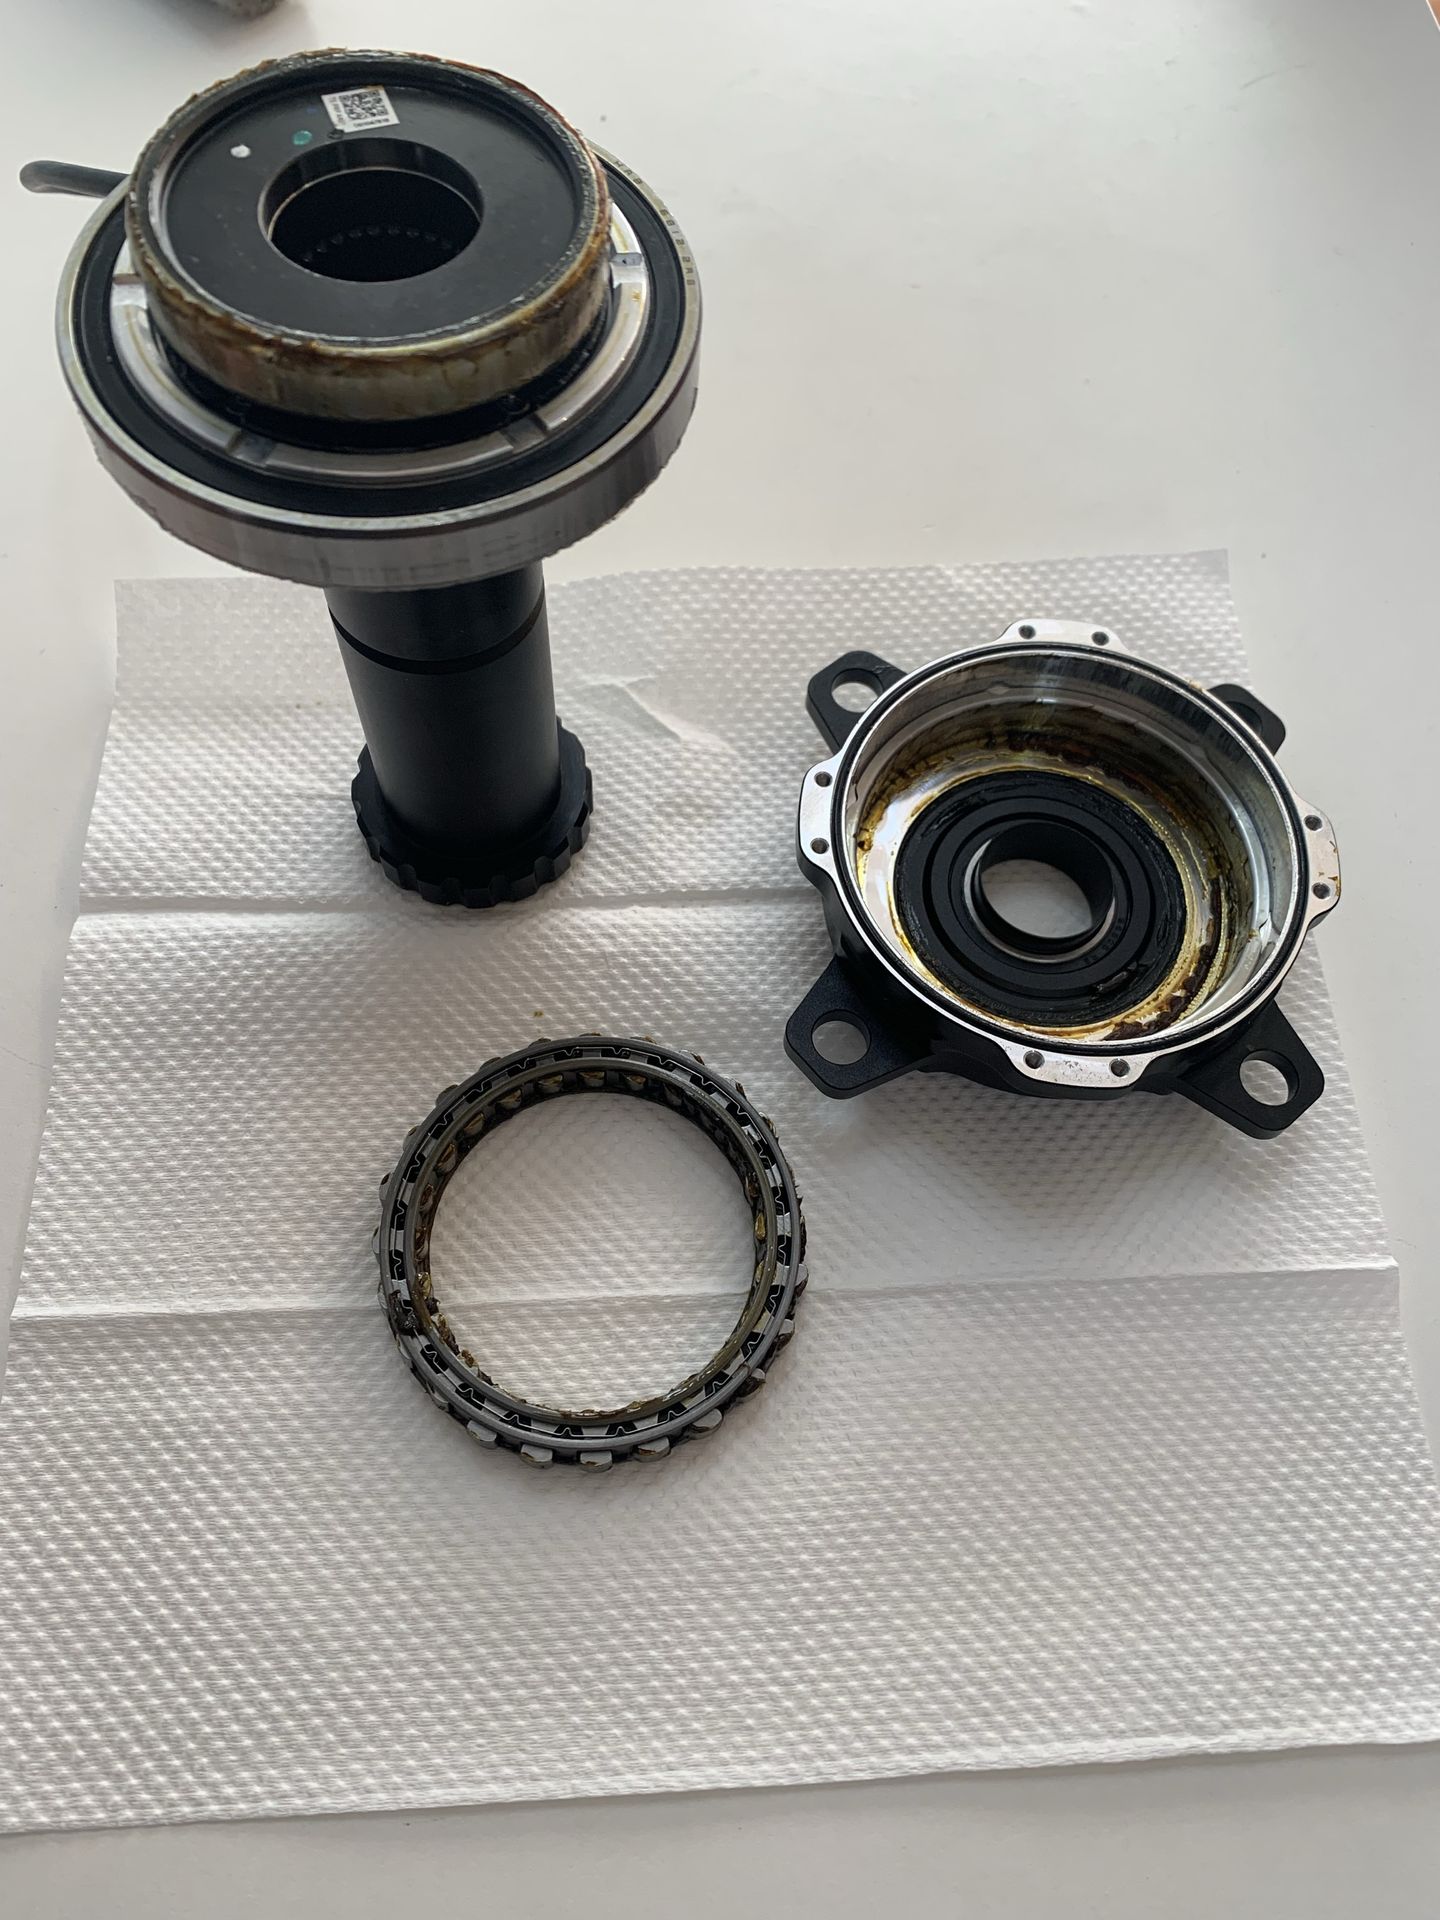
✅ You now have access to the torque sensor and sprag clutch inside the freewheel housing.
Reassembly Instructions
Step 1: Install the Sprag Clutch
- Place the sprag clutch into the freewheel housing.
- Make sure it is oriented correctly (see image guide for reference).
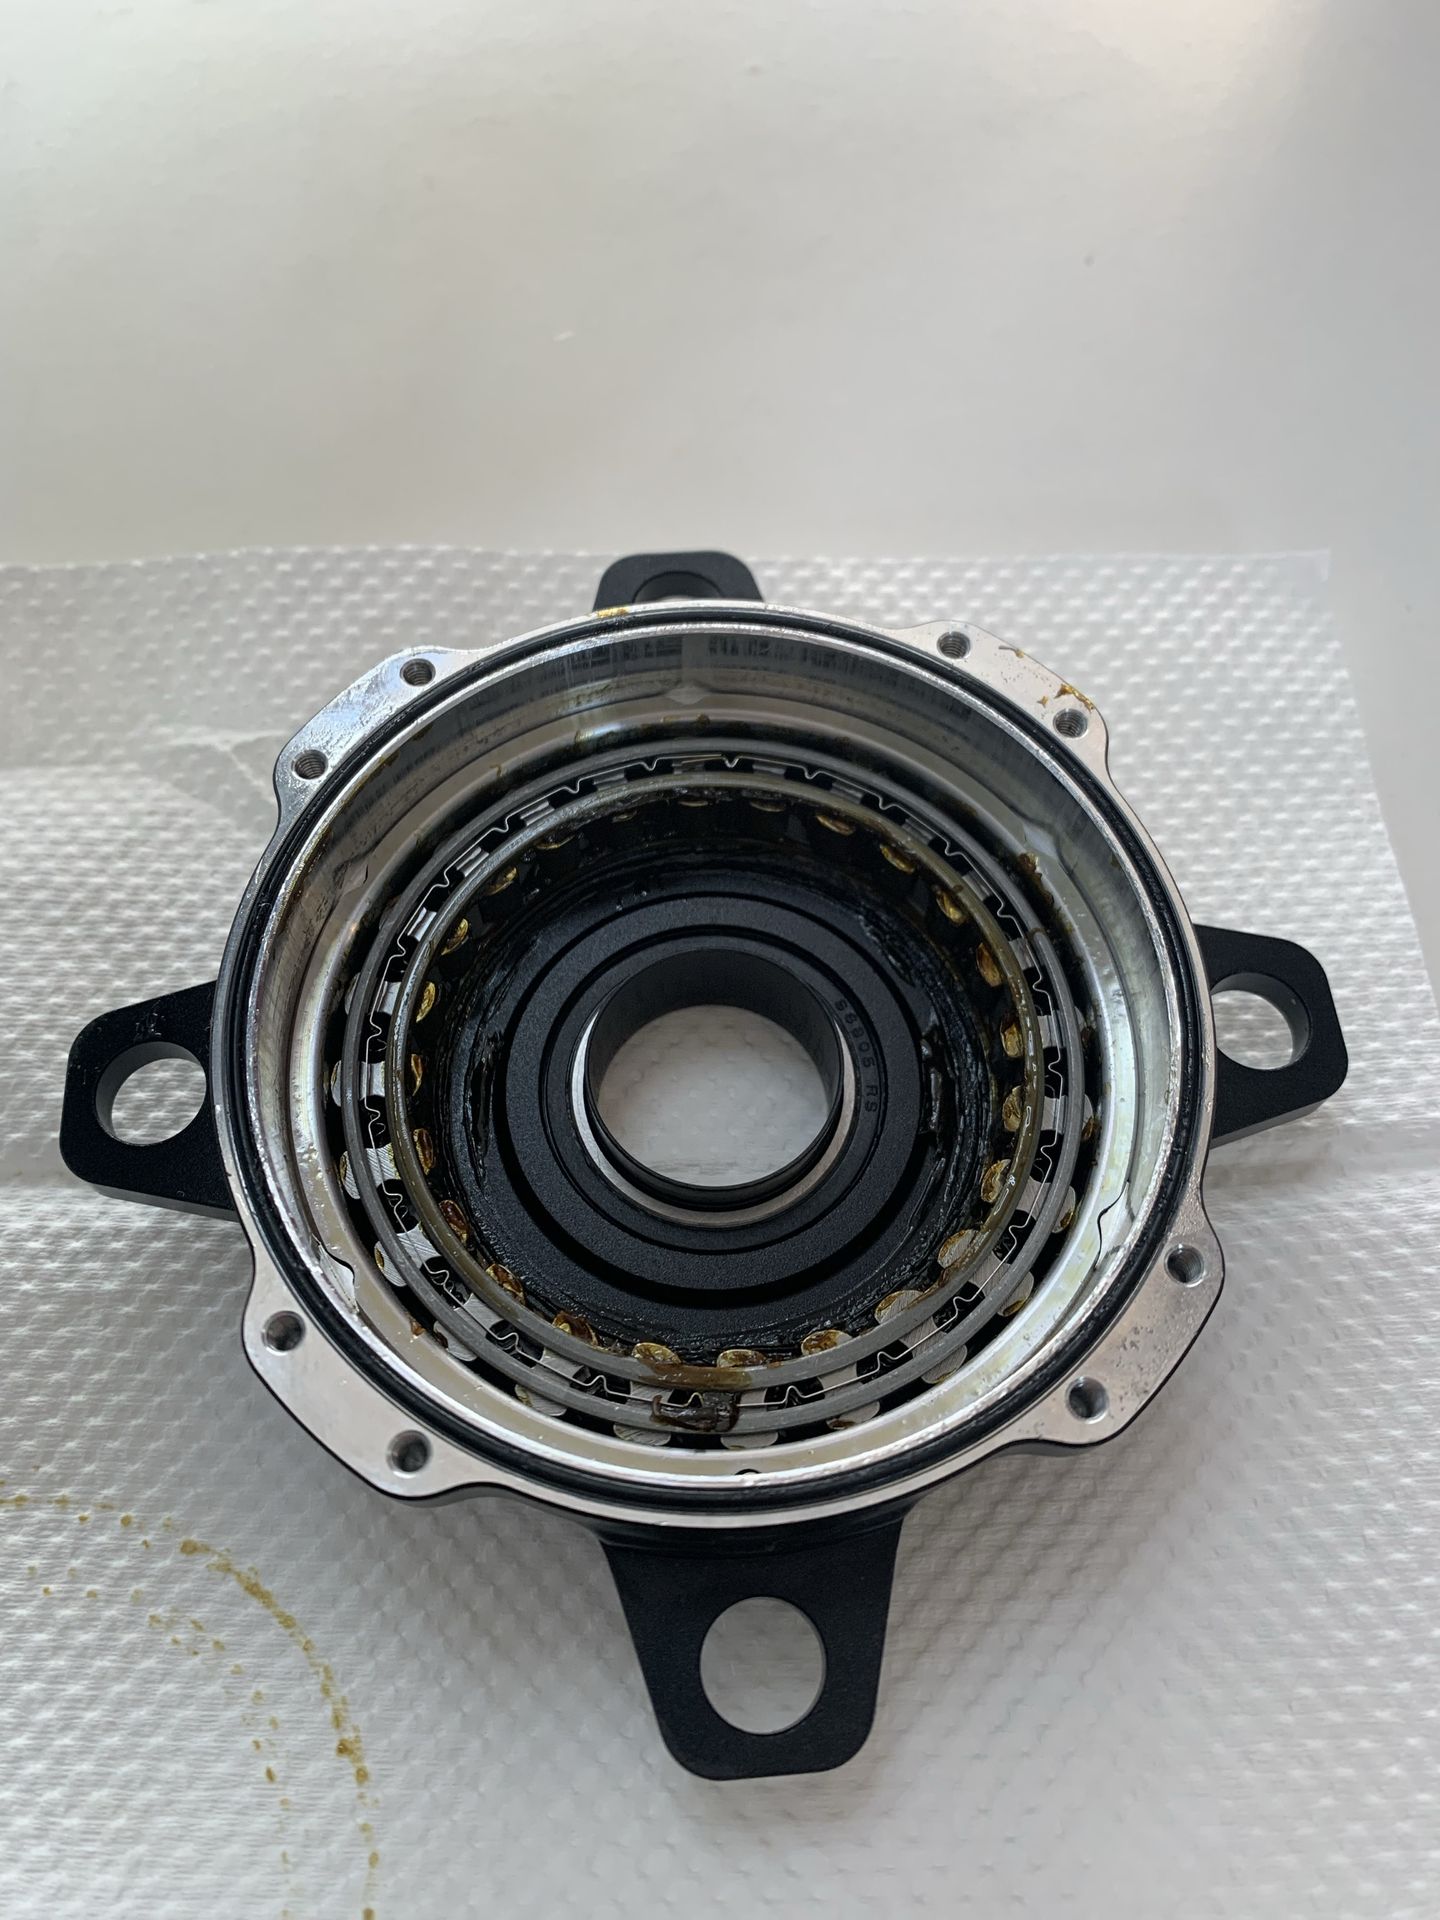
Step 2: Align Components
- Carefully align the torque sensor and motor axle assembly with the freewheel housing.
- Ensure the outer bearing sits flush against the housing edge.
Step 3: Press or Tap Components Together
Preferred method:
- Use a bearing press to evenly rejoin the components until the outer bearing race is flush with the housing.
Alternative method:
- Use a rubber or plastic mallet to gently tap the assembly together.
- Apply even pressure—do not strike the bearing directly.
- Confirm the bearing race is fully seated and flush.
Step 4: Secure the Assembly
- Reinstall and tighten the motor axle screw.
- Place the bearing cover back onto the housing.
- Tighten all bearing cover screws securely.
VIDEO GUIDE COMING SOON