X1 Pro Gen 4 - Tensioner Installation
X1 Pro Gen 4 - Tensioner Installation
Overview
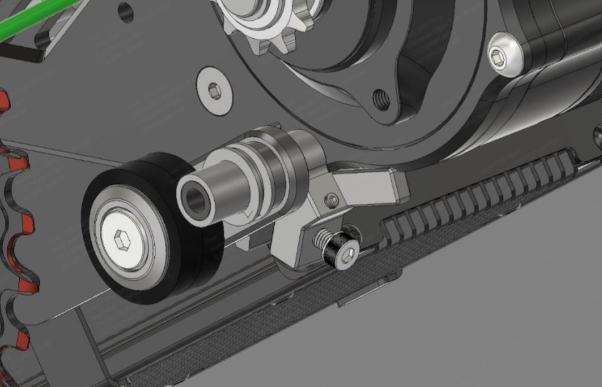
Use this guide to safely replace the X1 Pro Tensioner Bolt adjustment tenioner
Tools Needed
- Hex Key
- Clean cloth
Step 1: Preparation
- Clean parts on the motor with a damp cloth before starting repair.
- Can be done with the motor on the frame, and there is no need to remove the motor from the frame to swap/install the Chain Tensioner.
Step 2: Remove the old Chain Tensioner
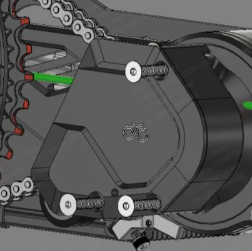
- Unscrew the 3 Bolts securing the Chain Cover and Chain Tensioner.
- Remove the old chain tensioner and set it aside.
Step 3: Install the new Chain Tensioner
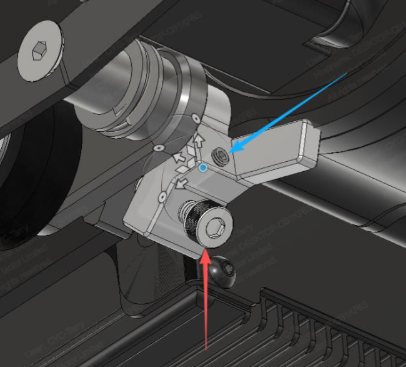
- Place the tensioner as shown in the diagram below
- Secure the Chain Cover and Chain Tensioner with the 3 bolts.
- Following the diagram below, use the red marked screw to adjust the tension on the chain and the blue marked screw to secure the position once tension is set.